Landing Page Builder by Landingi helps you create and publish high-converting landing pages, no coding required. No more waiting for designers and developers. Instead, you can build your own with:
- A streamlined, drag-and-drop editor
- 400+ customizable templates
- Form builders
- Smart sections
- Dynamic text replacement
- Fast global hosting infrastructure
- Integrations with 50+ sales and marketing tools and platforms
Find it in the Semrush App Center.
How Can Landing Page Builder Help Me?
Here are a few benefits of using Landing Page Builder:
- Create high-converting landing pages easily, without coding
- Streamline your workflow by relying on fewer tools
- Support any campaign with custom landing pages
- Save time and money by creating your own pages, faster, without waiting on technical teams or external agencies
Pricing & Limitations
Landing Page Builder app has a 7-day free trial, available to all Semrush users. To continue using the app after the trial, you’ll need to purchase the Landing Page Builder app subscription.
App Subscription ($49/month):
- Unlimited published landing pages
- 10 custom domains
- 75,000 unique visits per month
In-app purchases:
- + 75,000 unique visits per month - $49/month
- + 10 custom domains - $10/month
Getting Started with Landing Page Builder
The first time you access Landing Page Builder, you’ll be prompted to either create your first landing page, or upload a previously designed page by clicking the cloud-shaped upload icon.
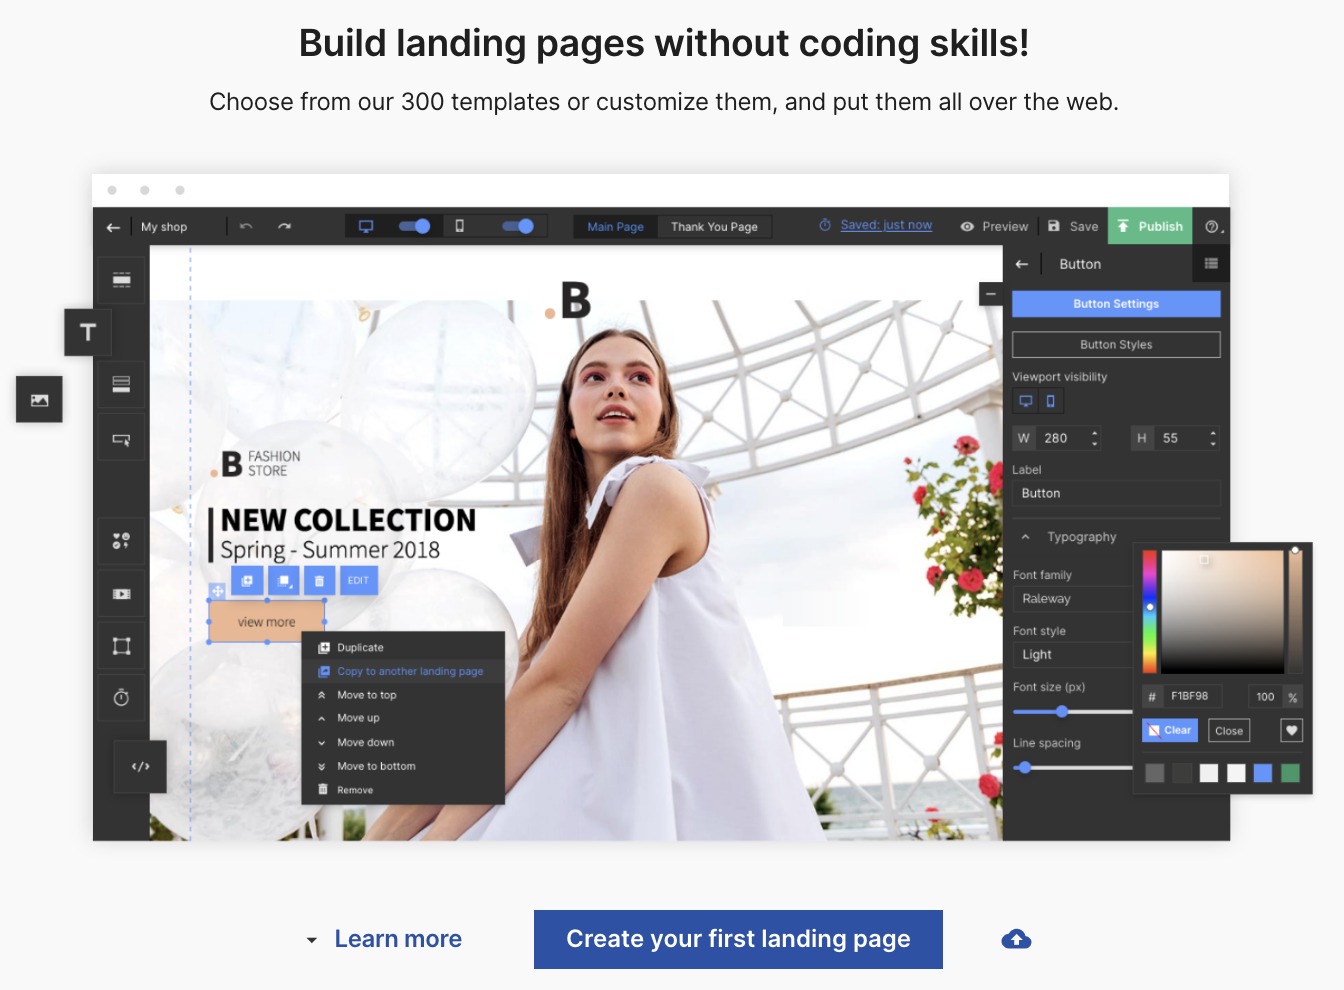
To design a landing page, click the “Create your first landing page” button. This will take you to the drag-and-drop editor. Here, you can create a page by modifying an existing template, or designing your own from scratch.
App Settings
At the top right corner of any dashboard, you’ll find your app settings.
.gif)
Here, you’ll find two icons:
- A graph icon: Reveals a drop-down menu showing your current app limits
- A gear: Reveals a drop-down settings menu
If you open the drop-down menu and click “Settings,” you’ll be taken to the app settings dashboard.

You can configure:
- Your preferred language for the app interface
- Your preferred language for user-facing form alert messages
- Default time zone
- Google Tag Manager for all landing pages you create
Next, the API Tokens dashboard enables you to generate API tokens. These tokens can be used to connect to third-party integrations, for example, to publish the landing page via WordPress or to connect the form on the landing page with Zapier. Both tools require an API token to connect the landing page/account with a tool.
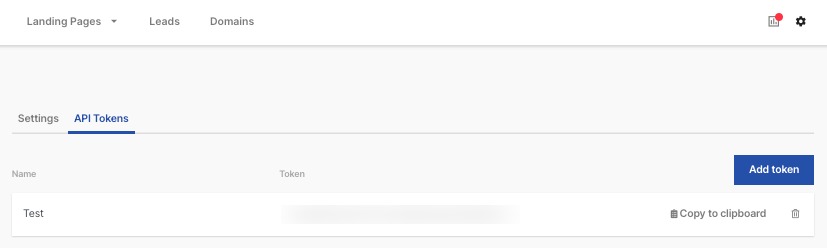
To generate a new token, click “Add token.”
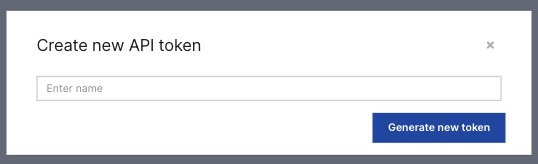
Then, enter a name to identify your new token and click “Generate new token.”
You can reference or delete your API tokens at any time by returning to this page.
How to Create a Landing Page
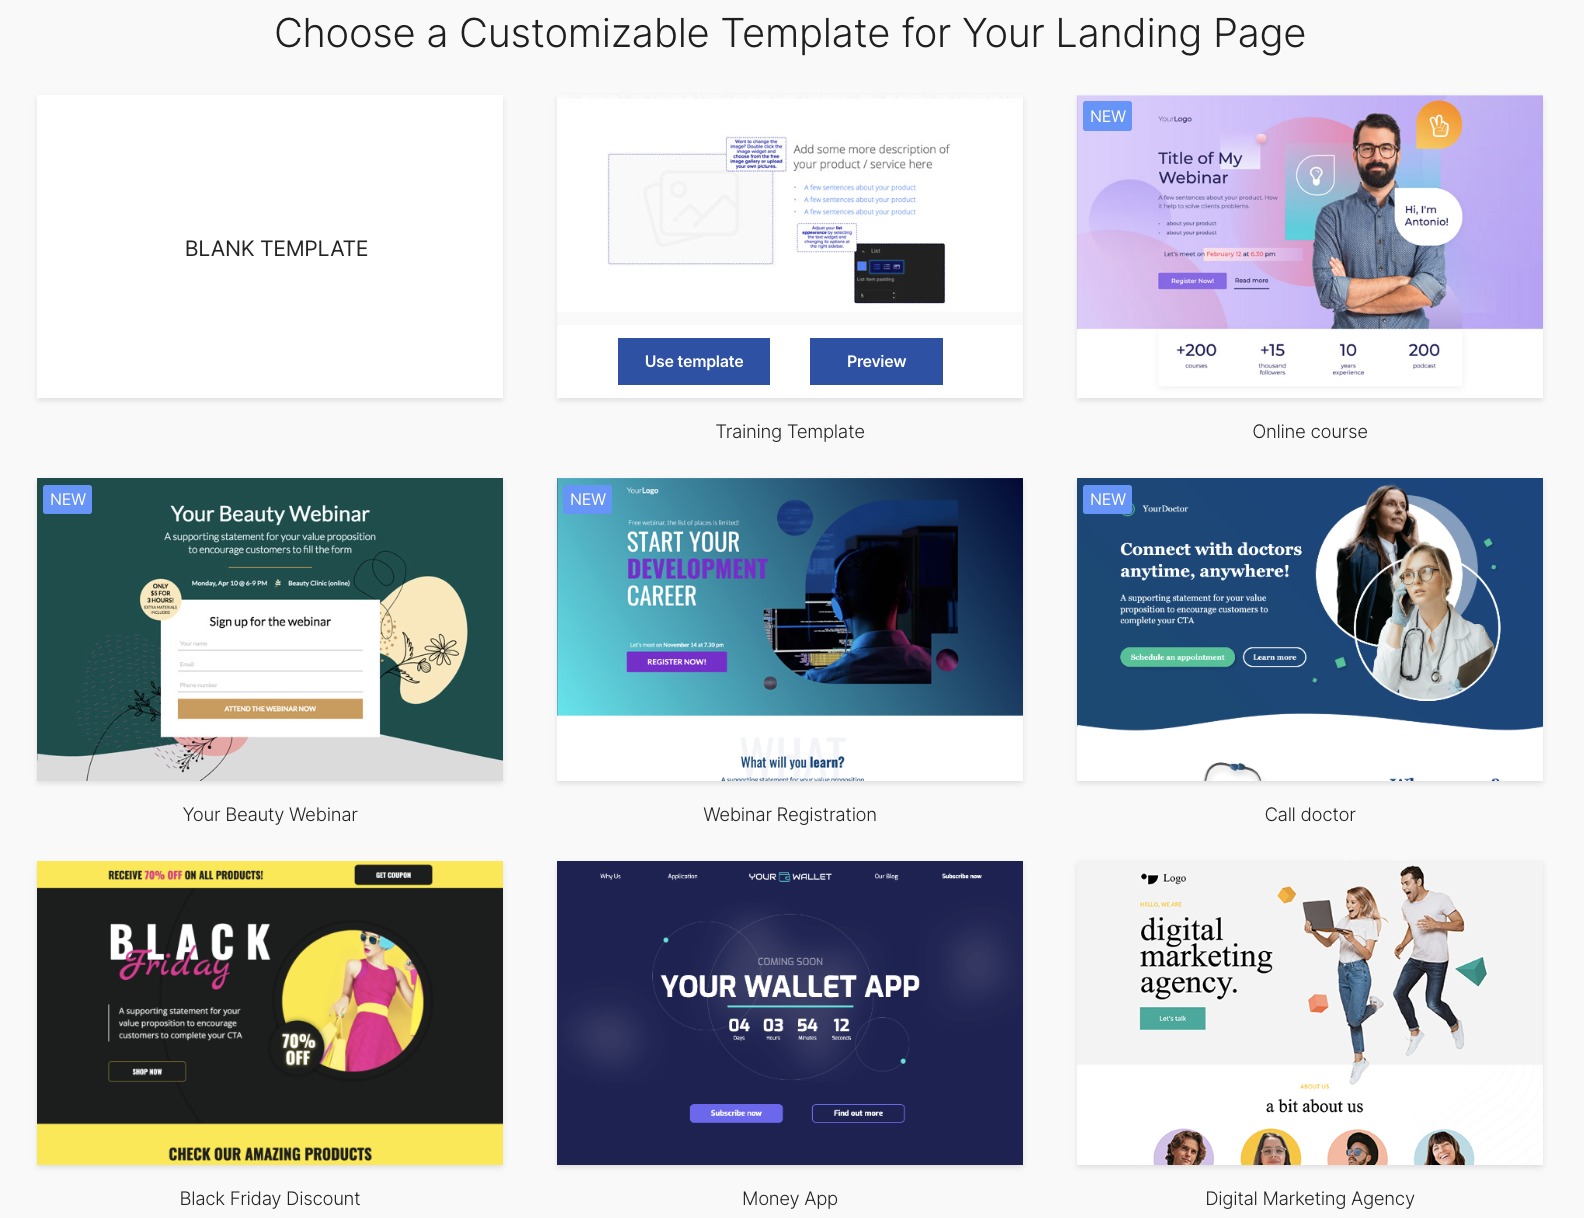
To create a landing page, you first need to choose a template. You may choose a blank template (e.g., one with no suggested layout or design elements) or a pre-designed, fully customizable one.
Landing Page Builder includes more than 400 pre-designed templates. Each one includes a desktop and mobile view, and a customizable “thank you” page to show users after they complete an action such as completing a form.
Some popular options are suggested in the center of the screen. To choose one of these, simply click on the name or image of the design you want to use.
However, you can also search for the best option using the menu on the left.
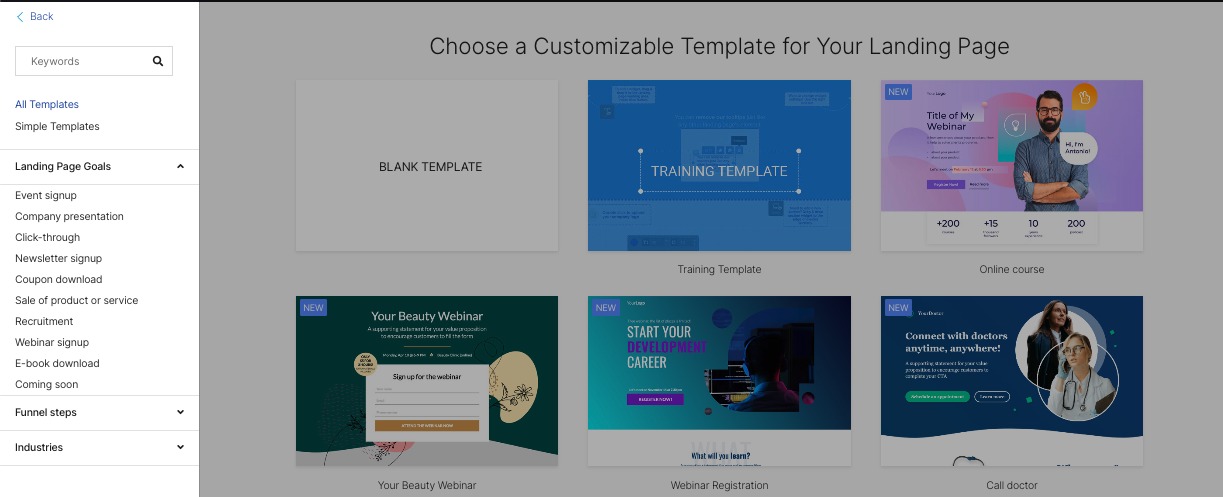
Here, you can find the perfect template one of three ways:
- Search by keyword
- View simple templates only
- Filter by landing page goal, funnel step, or industry
If you choose to filter by goal, funnel step, or industry, you’ll be able to choose from an array of subcategories:
- Event signup
- Company presentation
- Click-through
- Newsletter signup
- Coupon download
- Sale of product or service
- Recruitment
- Webinar signup
- E-book download
- Coming soon
- Squeeze pages
- Sale pages
- Upsell pages
- Thank you pages
- Ecommerce
- Education
- Software & Technology
- Consulting & Coaching
- Advertising & Marketing
- Finance
- Insurance
- Real Estate
- Sport
- Health & Beauty
- Pharmacy
- Games & Entertainment
- Publishing
- Architecture & Design
- Home & Garden
- Hotel & Restaurant
- HR & Recruitment
- Automotive
- Events
- Travel
Using the menu, click on the sub-category that most closely aligns with your needs. Then, all templates that match your search criteria will be displayed in the middle of the screen.
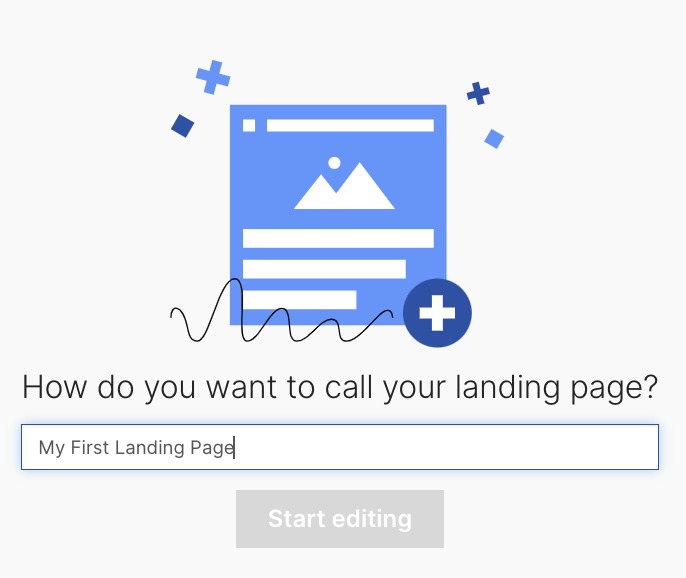
Once you select a template, you’ll be prompted to name it. Enter something descriptive, so that you can identify it again later, and click “Start editing.”
After you click “Start editing,” you will see your template displayed in the editor. Now, it’s time to customize it.
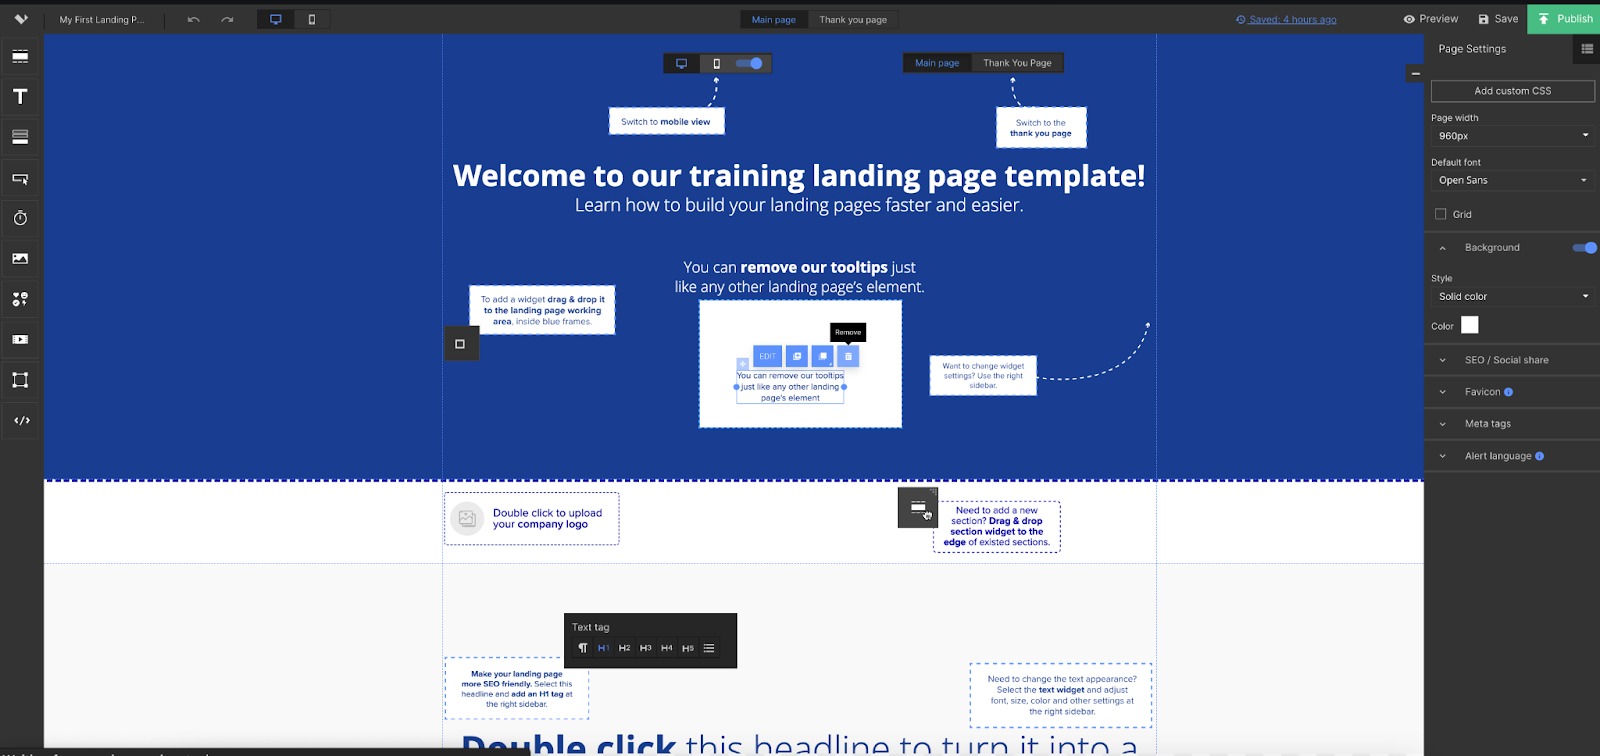
Every element of the landing page template is customizable. You can change the text, color, design, images, and add and remove elements.
Next, we’ll explore the features available to you in the editor.
Template Elements
Check out the manual "Adding and Editing Template Elements" for more details.
Navigation
In the top left corner of your editor, you’ll find a few navigation options:
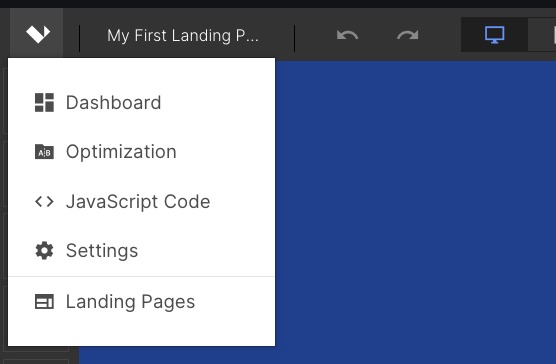
The drop-down menu includes:
- Dashboard: Leads you to the app dashboard, where all of your drafted and published landing pages are stored
- Optimization: Run an A/B/X test to test changes and find the highest performing version of your page (also accessible via the Dashboard)
- JavaScript Code: Add a line of JavaScript to run on your page (also accessible via the Dashboard)
- Settings: Opens the settings menu for this landing page (also accessible via the Dashboard)
- Landing Pages: Return to the main dashboard where all of your landing pages are stored
We’ll cover each of these in the Dashboard section below.
To the right of the drop-down menu, you’ll find the “undo” and “redo” buttons, indicated by left and right arrows respectively, and the page format toggle.
When viewing the desktop version of a landing page, the page format toggle will appear as a computer monitor. When viewing the mobile version, it will appear as a mobile device. Simply click on it to switch your view.
Finally, in the top right corner, you’ll find a few more options.
From left to right, these options include:
- The date the page was last saved
- Preview
- Save
- Publish
Using the Right Sidebar
Whether you’re adding a new element to your landing page, or editing an existing one, you’ll find many of the customization options in the sidebar menu on the right. It looks something like this:

This menu has many different customization options. Different options will be visible depending on the type of element you’re trying to customize.
- Add custom CSS: Only visible in Page Settings, when no individual element is selected
- Choose a new element: A button that allows you to replace an element—e.g., a design or image—with another. The button text will change depending which element you are editing.
- Edit or customize element: A button to make design or customization changes. For example, choosing a new button design template, or editing a photo. This text will change depending on the type of element you’re editing.
- Form settings and style: Appears only for forms; these buttons allow you to add, remove, and customize fields, and change the form’s appearance
- Add onClick event: When you’re editing a button, this allows you to associate JavaScript code with a button click (for example, analytics)
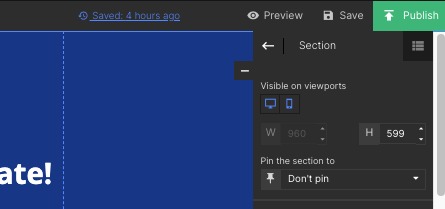
- Visible on viewport: Determines whether an element appears on desktop, mobile, or both
- Click action: When the button is clicked, one of the following options occurs:
- None
- Scroll to section
- Show lightbox
- Scroll to section
- Download file
- Redirect
- Redirect to landing page
- Width and height by pixel
- Padding
- Label text and position
- Background: Customize the background with color, gradient, image, or video. This section includes more details, described in the chart below.
- Typography: Customization options include font family, style, size, line spacing, color, alignment, and text tagging
- Grid: Available in Page Settings and displays a grid on the editor
- Click action: Establish what happens when a user clicks on something. Options include:
- None
- Link to URL
- Scroll to section (e.g., a page anchor link)
- Show lightbox (e.g., zoom in)
- Image gallery (e.g., a slideshow, so the user can flip through several images)
- Image SEO: Set an image title and alt text
- Borders: Select an image border, including color, weight and line type
- Rounded corners: Set a radius to determine how round your image’s corners will be
- Shadow: Customize a drop shadow behind text, an image, or another element
- SEO/Social Share: In Page Settings, customize the page title, target keywords, and description, for search engines and when linked on social media
- Favicon: Customize the image that appears beside the address bar
- Meta tags: Customize the language alert messages appear in, for example when users make a mistake filling out a form
- Alert language
- Other: View the element ID, and view or edit the element name and class
In the right sidebar, the options under “Background” vary depending on the type of background you choose:
- Color
- Full width (select whether the color stops with the page body or continues beyond it)
- Full width
- Colors (select two, in the order you’d like them to appear)
- Angle (select the angle at which the colors fade)
- Select image
- Parallax effect (a CSS effect that changes the rate of scrolling for the image, compared to the body of the page)
- Repeat
- Image position
- Color and color position
- Full width
- Video URL
- Color and color placement
AI-SEO feature
This feature allows you to create AI-generated SEO details for the landing page based on the product/company name, description, and goal of the landing page.
To start using this feature, open the SEO/Social share section in the right sidebar, and click on the Generate with AI button. 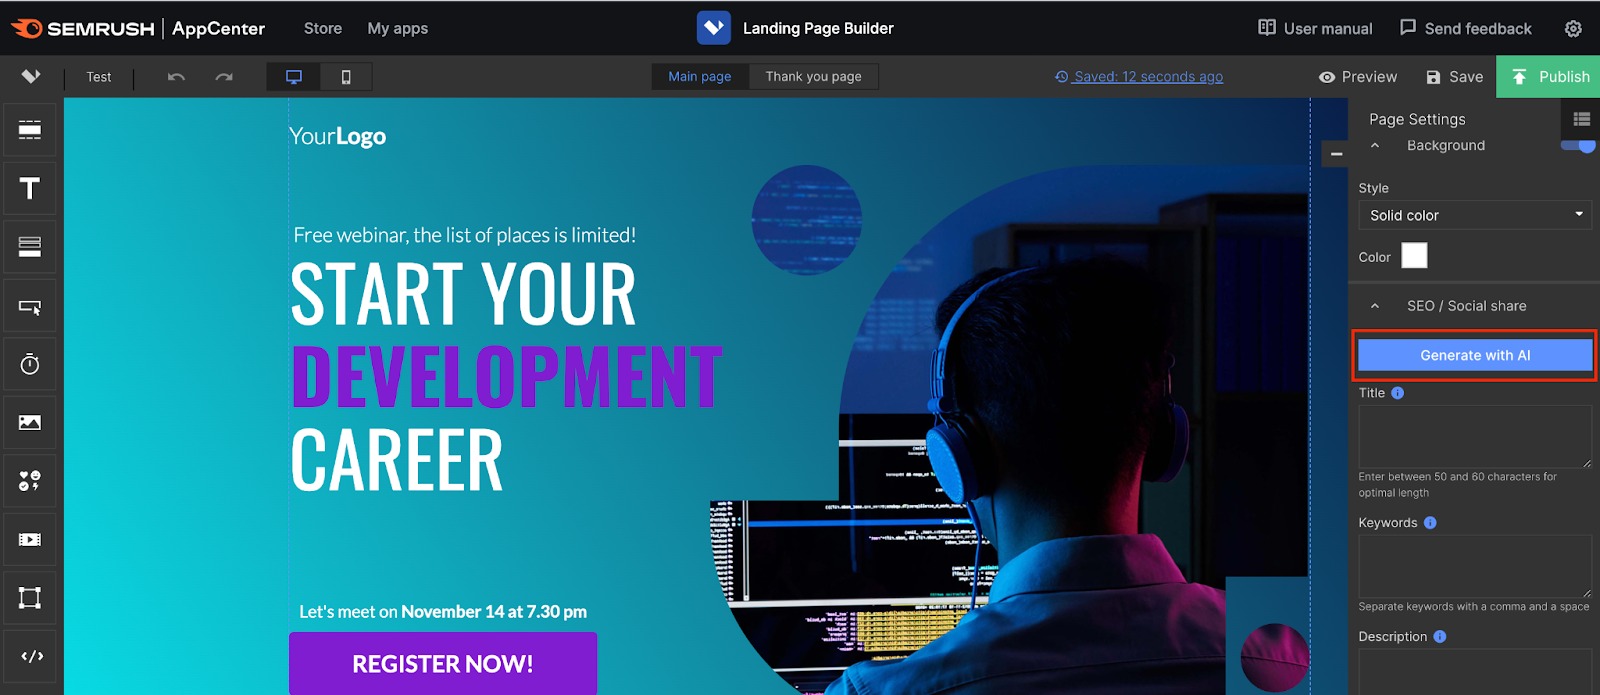
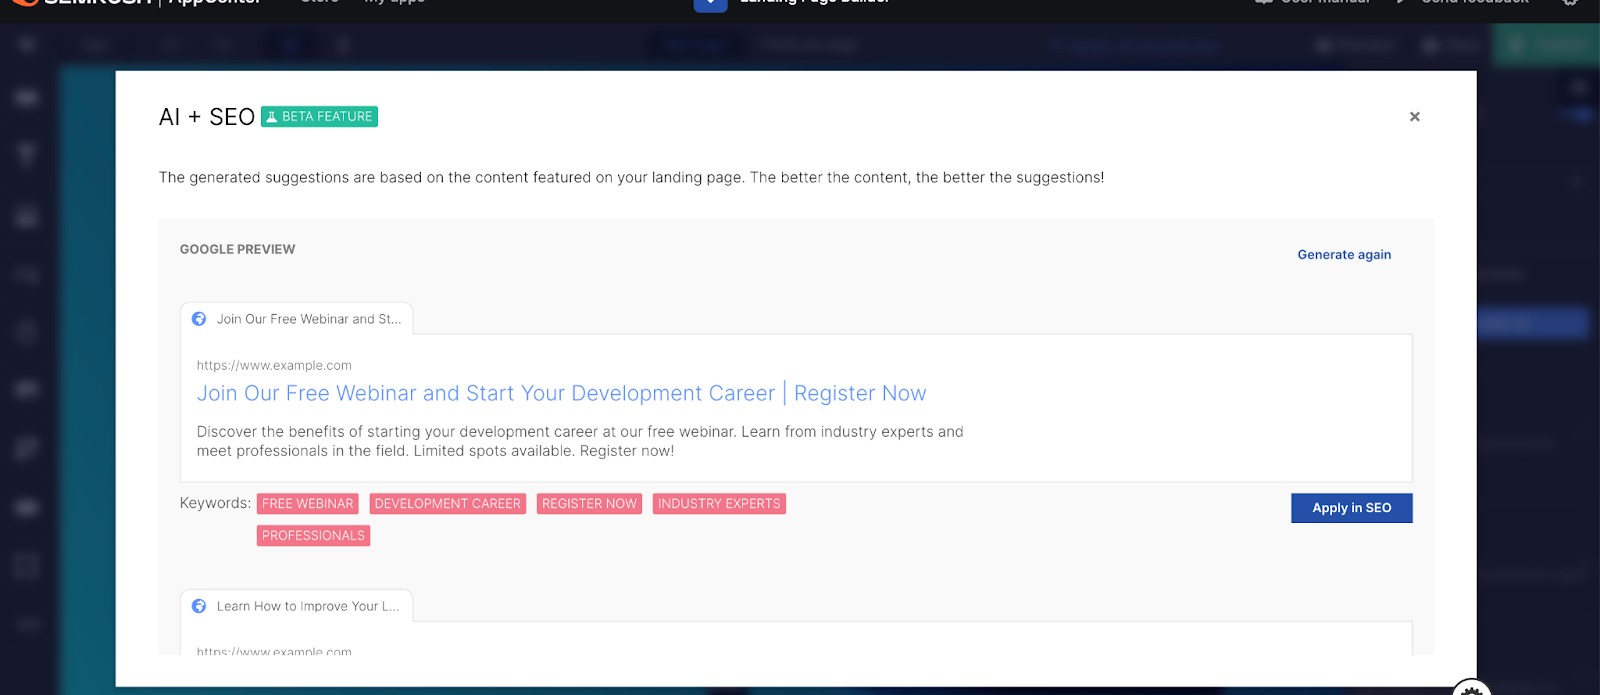
Once the Meta title, description, and keywords are generated, you’ll be able to preview how they will appear in the Google SERP:
Publishing a Landing Page
Once you’re finished building your landing page, you can publish it directly from the app. Just click the “Publish” button in the top right corner of the editor interface.
This will prompt the “Publishing options” window will appear:
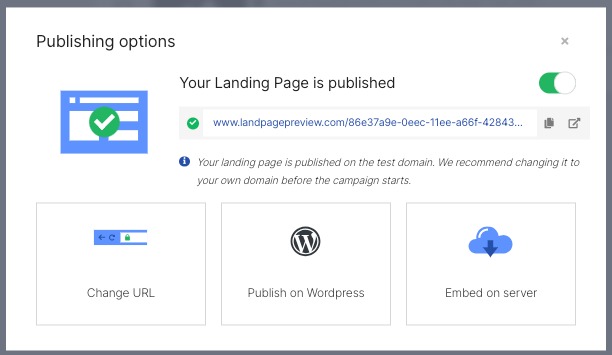
To undo the publication, click the green slider button in the top right corner.
By default, your landing page will publish to a test domain. To change this, you can:
- Change the URL
- Publish via WordPress
- Embed the page on your site’s server
If you click any of these options, you’ll be directed to their respective pages on your Dashboard.
Landing Pages Dashboard
On your dashboard, you’ll find all of your drafted and published landing pages.
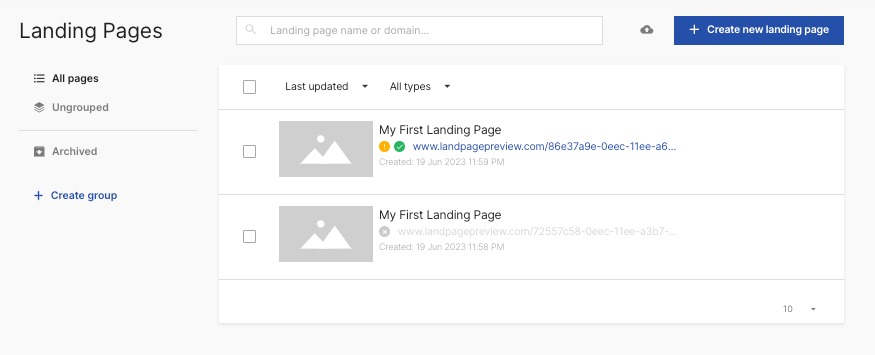
Your navigation menu is on the left. Here, you can filter for:
- All pages
- Unsorted pages
- Archived pages
- Pages sorted into groups (i.e., folders)
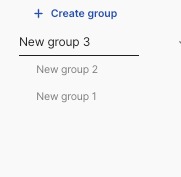
To create a group, simply click “Create group” and customize the name. Then, click the check mark.
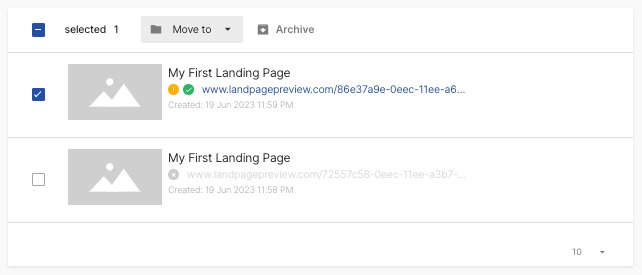
To move a landing page into a group, select it by clicking the check box. Then, open the “Move to” drop-down menu and select the group you want.
When you place your cursor over a landing page, you will reveal three options:
- Edit: Takes you to the drag-and-drop editor described above
- Dashboard: Takes you to a page-specific dash, described below
- Leads: View any leads generated by your landing page
Page-specific dashboards show basic analytics for your page, and enable you to make changes.
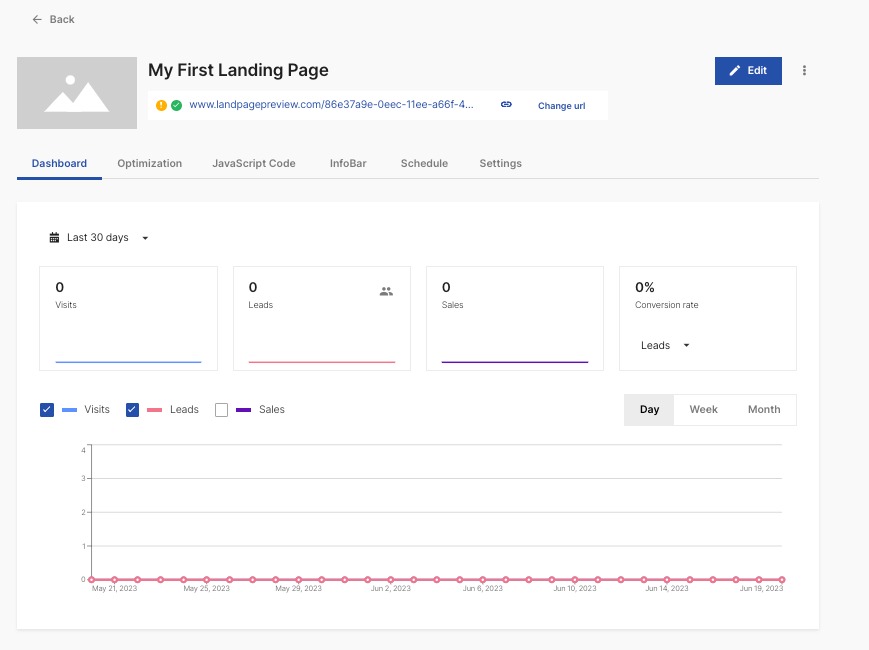
First, in the dashboard header, you can see your current URL, and change it as needed.
Next, by clicking the “Edit” button, you can return to the drag-and-drop editor.
Finally, the drop-down menu (three dots) allows you to:
- Duplicate, rename, or preview your landing page
- Access the “Publishing Options” window, leads, and optimization dashboards
- Reset your page analytics
- Download your landing page
- Send it to the archive folder
Metrics displayed on this page include:
- Number of visits
- Number of leads
- Number of sales
- Conversion rate
- Trend for visits, leads, and sales by day, week, or month
You can also customize the date range for this data:
- Today
- Yesterday
- Last 7, 30, 90, or 180 days
- Custom date range
Next, let's take a closer look at other tabs in the Landing Pages Dashboard:
The “Optimization” dashboard enables you to run A/B/X tests to optimize your page.
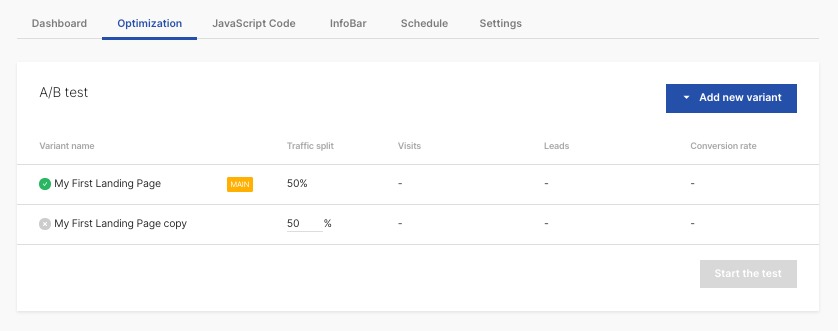
To initiate a split test, first click “Add new variant,” and select the page you want to test.
Then, make a change to one of the copies by clicking “edit.” This will send you to the drag-and-drop editor. Once you’re finished, publish the page.
Finally, once you’re satisfied with your variant pages, customize your traffic split (if necessary) and click “Start the test.”
The tool will then track each variant’s respective visits, leads, and conversion rate to help you find the most effective version.
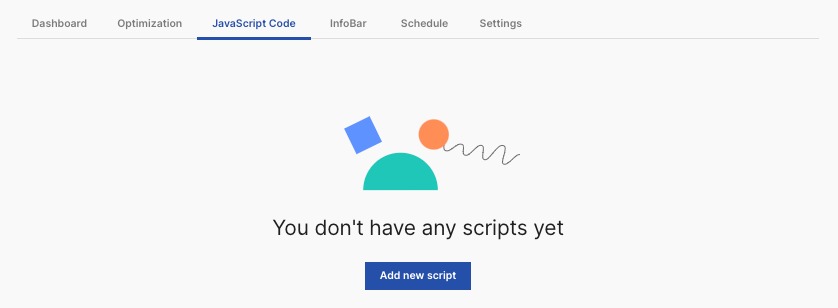
The “JavaScript Code” dashboard enables you to add lines of code to your landing page.
To add a script, click “Add new script.”
Then, on the next screen, copy and paste your JavaScript into the black box.
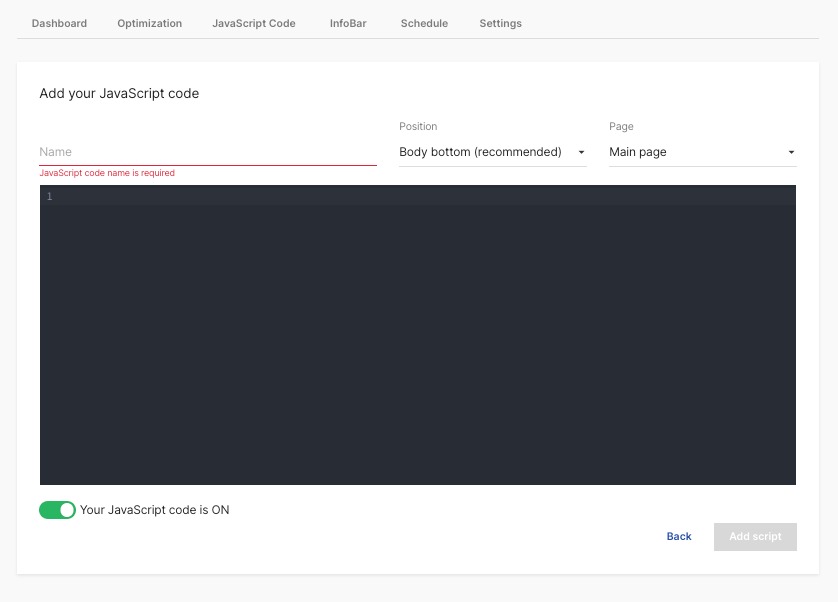
Before adding the script, you’ll also need to assign it a name, and specify the position and page it applies to.
Click the green slider to enable or disable your code.
The “InfoBar” dashboard enables you to add a one-time prompt at the bottom of the page. A helpful example would be a cookie consent bar, which does not reappear once the user clicks “Agree.”
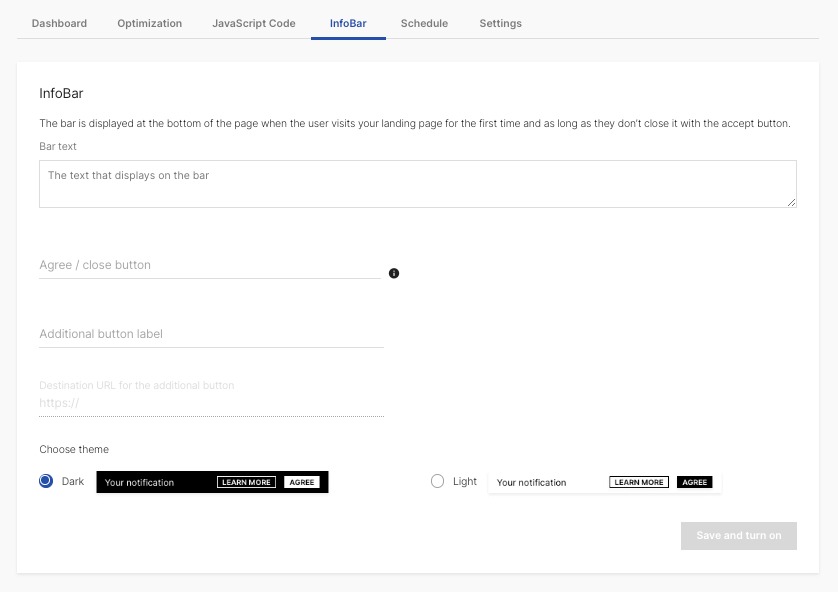
To add an info bar:
- Enter the main text that will be shown on the bar
- Enter the label text for your “Agree” or “Close” button
- Label your second button (typically “Agree” or “Close”)
- Add a URL where your second button will redirect the user to
- Choose your preferred theme (dark or light)
- Click “Save and turn on” to activate
The “Schedule” dashboard enables you to set a start and stop time for your landing page. For example, if you’re advertising a limited-time offer, running a contest with a deadline, or sharing holiday-specific messaging, you could use this feature to close the page automatically.
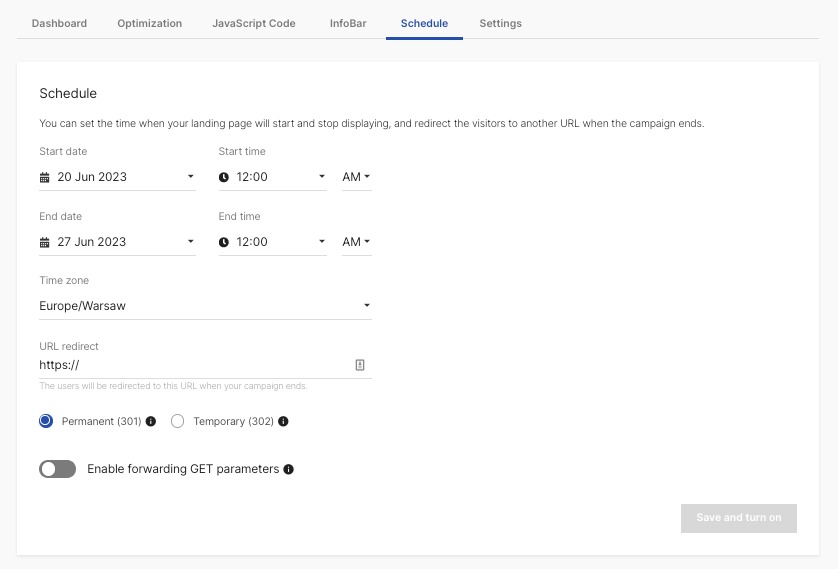
To create a schedule, first select a start and end date and time. Then, choose the time zone those dates and times will reference. Finally, specify the type of redirect (Permanent/301 or Temporary/302) and the URL you want to redirect users to after your landing page.
Once you’re satisfied, click “Save and turn on” in the bottom right corner.
This settings dashboard applies to the landing page itself, not to your Landing Page Builder app in its entirety.
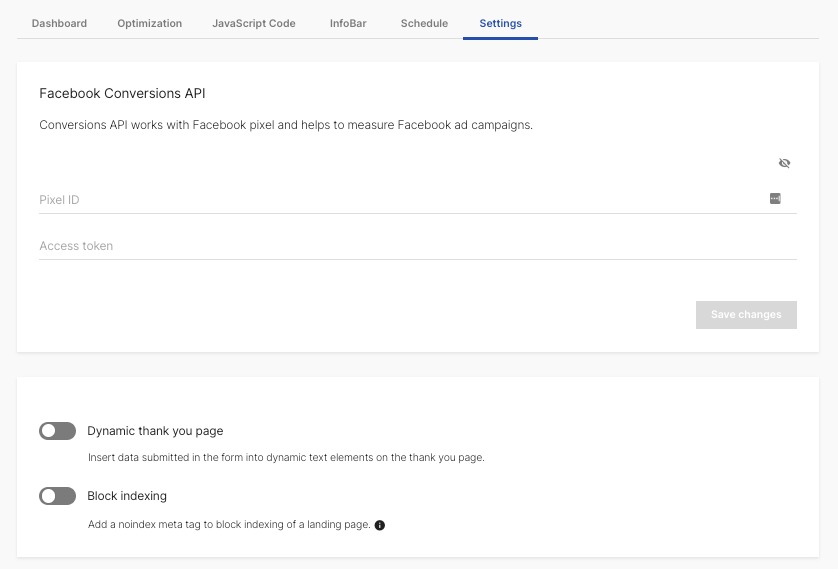
In the first section, if you’re associating the landing page with a Facebook ad campaign, you can add your Facebook Conversions API Pixel ID and access token.
Next, by enabling dynamic thank you pages, when users fill out a form, their information will appear in the thank you text for increased personalization.
Finally, you may opt to add a no index tag to your page’s meta information, to prevent it from being indexed by search crawlers.
Smart Sections Dashboard
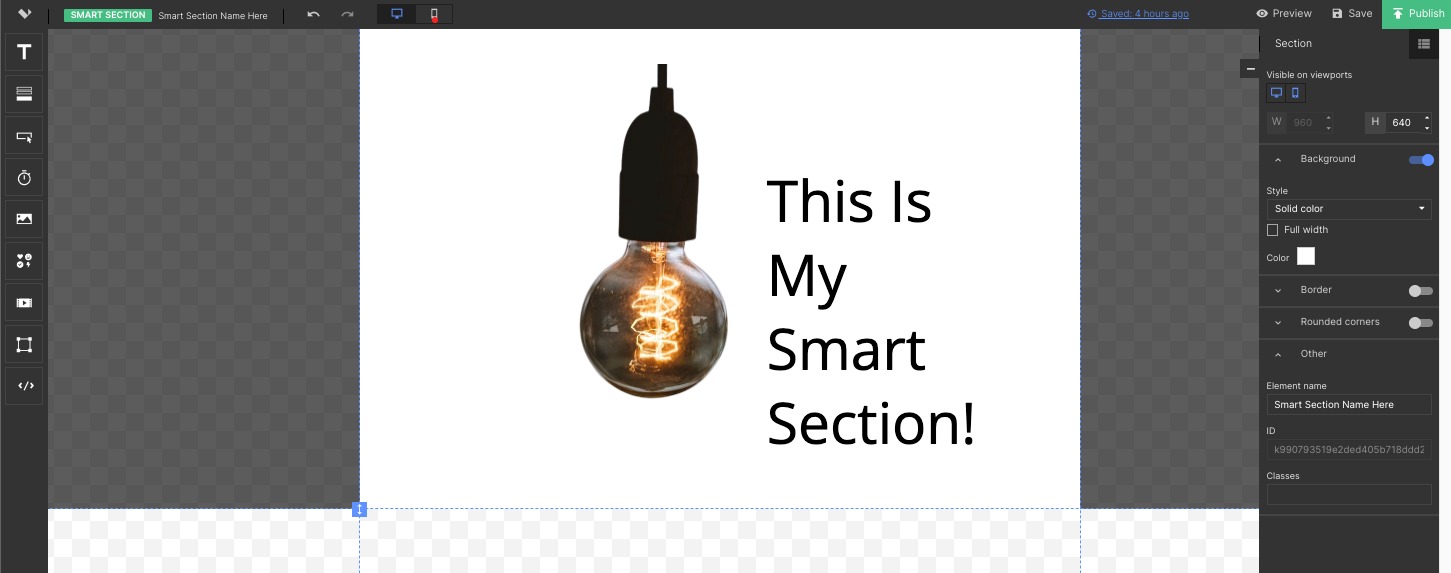
Smart sections are standardized landing page elements, which cannot be edited from the drag-and-drop editor.
Smart sections are ideal for page elements that must be consistent across multiple landing pages. Examples include a standard company bio, important policies, or frequently cited facts and figures. By using smart sections, you can update these elements once in a central location, rather than manually editing every single landing page.
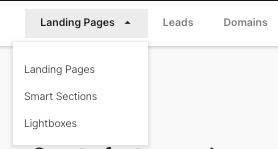
You can find the “Smart Sections” dashboard by navigating to the main app dashboard, and clicking the drop-down in the top left corner.
If you have not yet created a smart section, you’ll first be prompted to create one.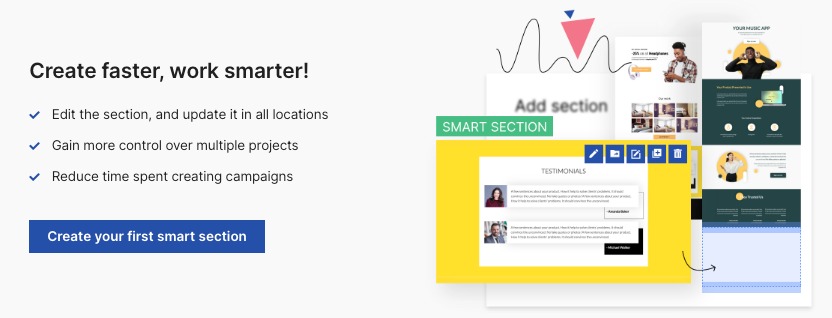
If you’ve already created at least one smart section, the dashboard will instead display it, similar to the Landing Pages dashboard.
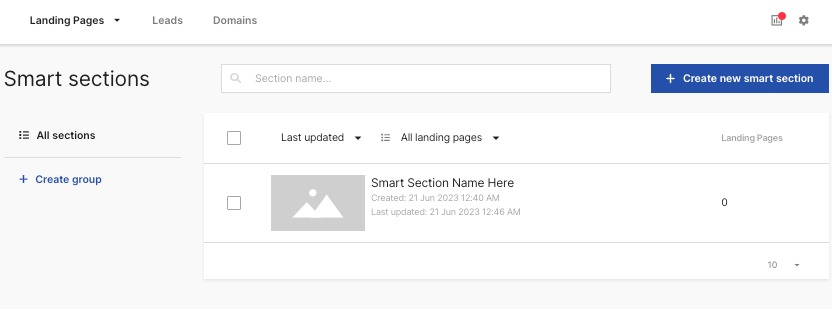
Just like the Landing Pages dashboard, you can also group your sections as well as duplicate and edit them.
Create a new section at any time by clicking “Create a new smart section” in the top right corner.
Creating a Smart Section
To create a new smart section, you first need to assign it a name and select a size.
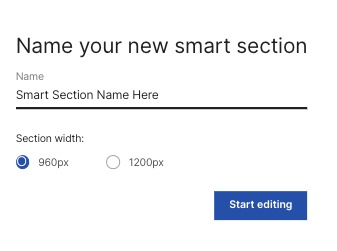
Once you click “Start editing,” you will be taken to the editor. This functions the same way as the drag-and-drop page editor, with the same elements and customization options.
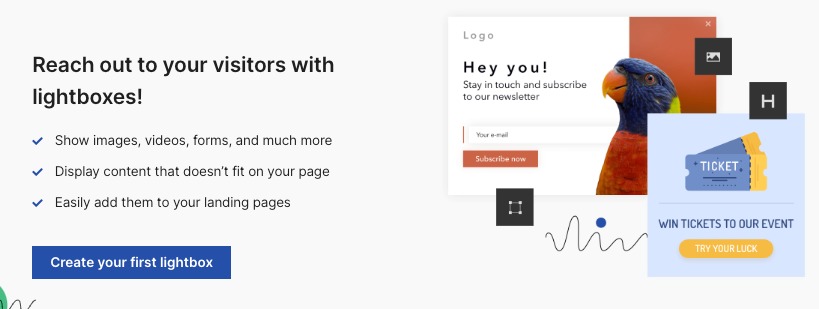
Lightboxes Dashboard
Lightboxes are illuminated overlay windows that appear on top of a page. Often, they are used to magnify images, or to enlarge forms the user must fill out. While a lightbox is open, the user cannot interact with the rest of the page without closing it.
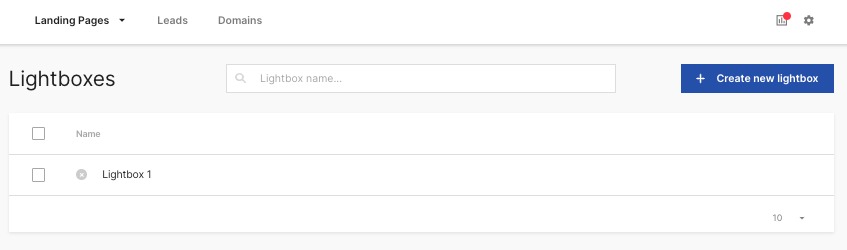
Like the Landing Page and Smart Section dashboards, the Lightboxes dashboard houses all of the lightboxes you’ve created, and enables you to create more.
As with other dashboards in the app, before you create a lightbox, you will be prompted to create one.
After you have created at least one lightbox, you’ll be able to find and edit it by returning to this dashboard.
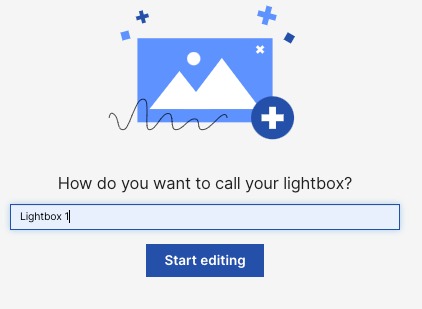
Creating a Lightbox
To create a lightbox, you first need to name it. After this, even if you stop editing, you’ll be able to find it in the Lightbox dashboard.
As with landing pages and smart sections, you will use the drag and drop editor to create your lightbox.
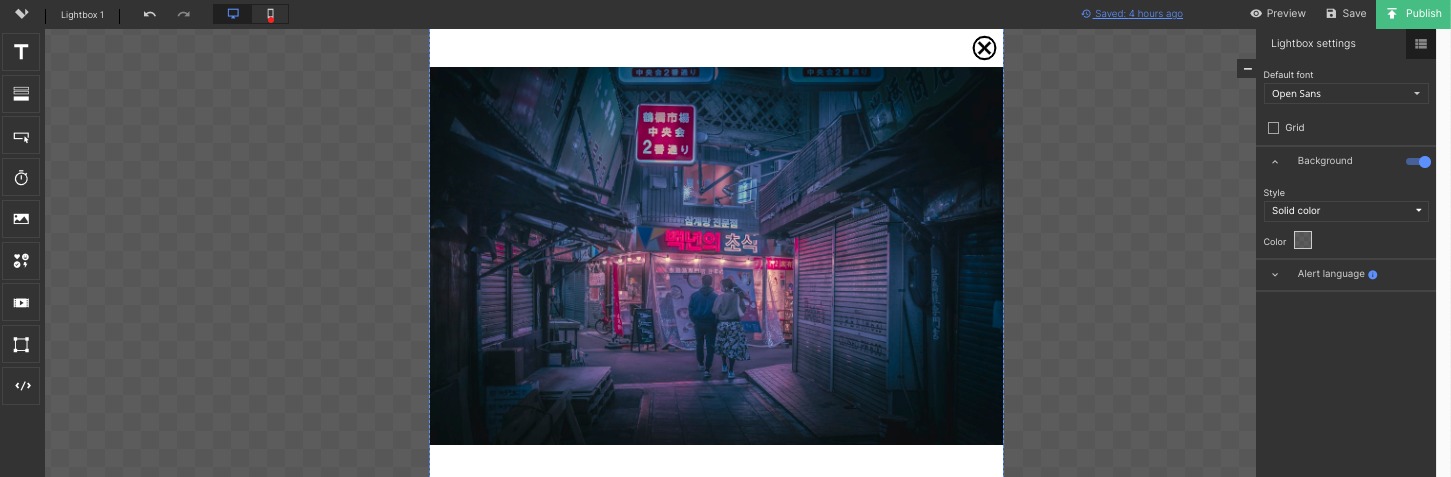
Once you’re happy with your new lightbox, save or publish it using the buttons in the top right corner.
How to Add Domains
You can add custom domains for your landing pages via the “Domains” dashboard.
.gif)
Access these features by clicking the “Domains” link from the top of any dashboard.
.gif)
The first time you access this page, you’ll be prompted to add your first domain.
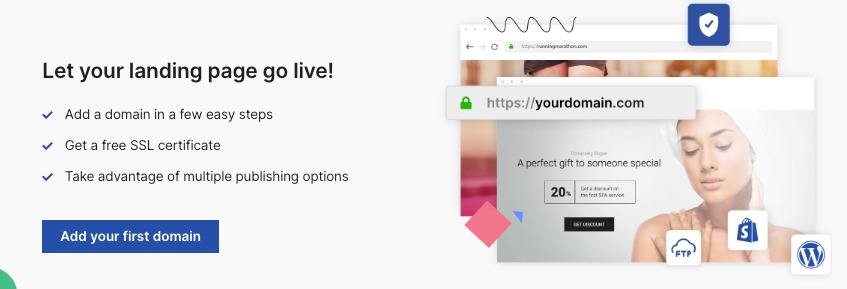
Once you’ve added a domain, view or configure it at any time by returning to this dashboard.
Adding Your Domain
To add a custom domain, first enter the subdomain where your landing pages should live. In other words, the format should be as follows: subdomain.domain.com
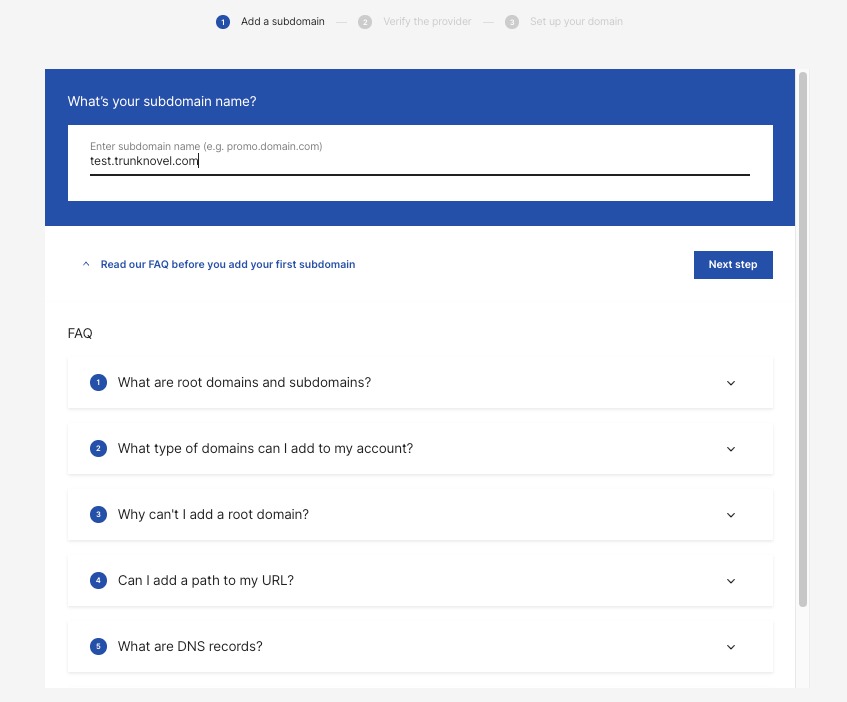
Next, the tool will automatically verify the domain with the hosting provider.
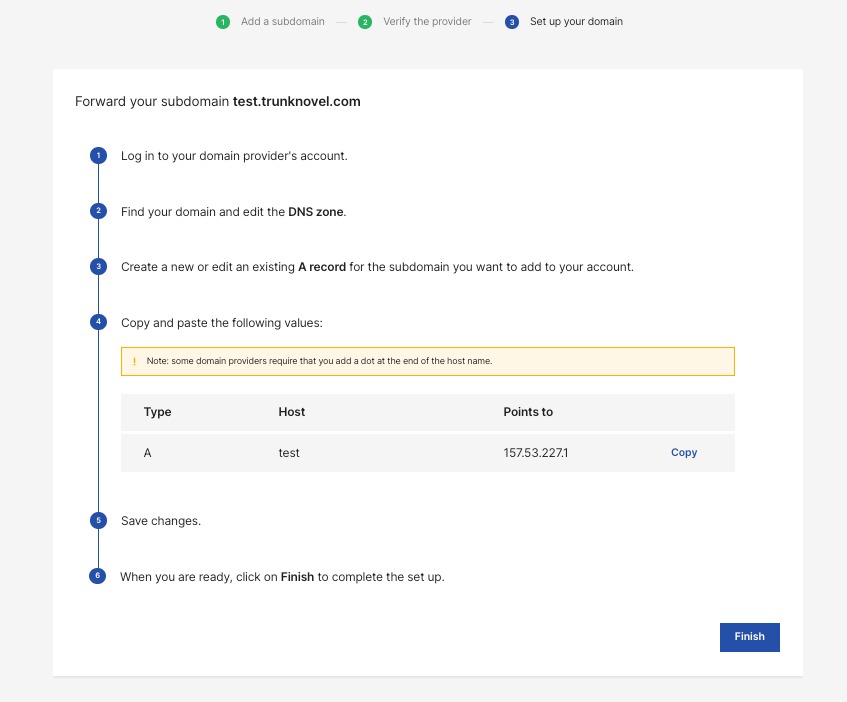
Finally, to finish setting it up, you will need to:
- Log into your domain provider
- Edit your domain’s DNS zone
- Create or edit an A record for the subdomain you want to use
- Copy and paste the provided Type, Host, and Points To values
- Save your changes
How to View Your Leads
The Leads dashboard enables you to check the leads generated by your landing page form submissions.
Find it by clicking the “Leads” at the top of any dashboard.

First, the leads inbox shows you all of the leads you’ve collected (i.e., form submissions)
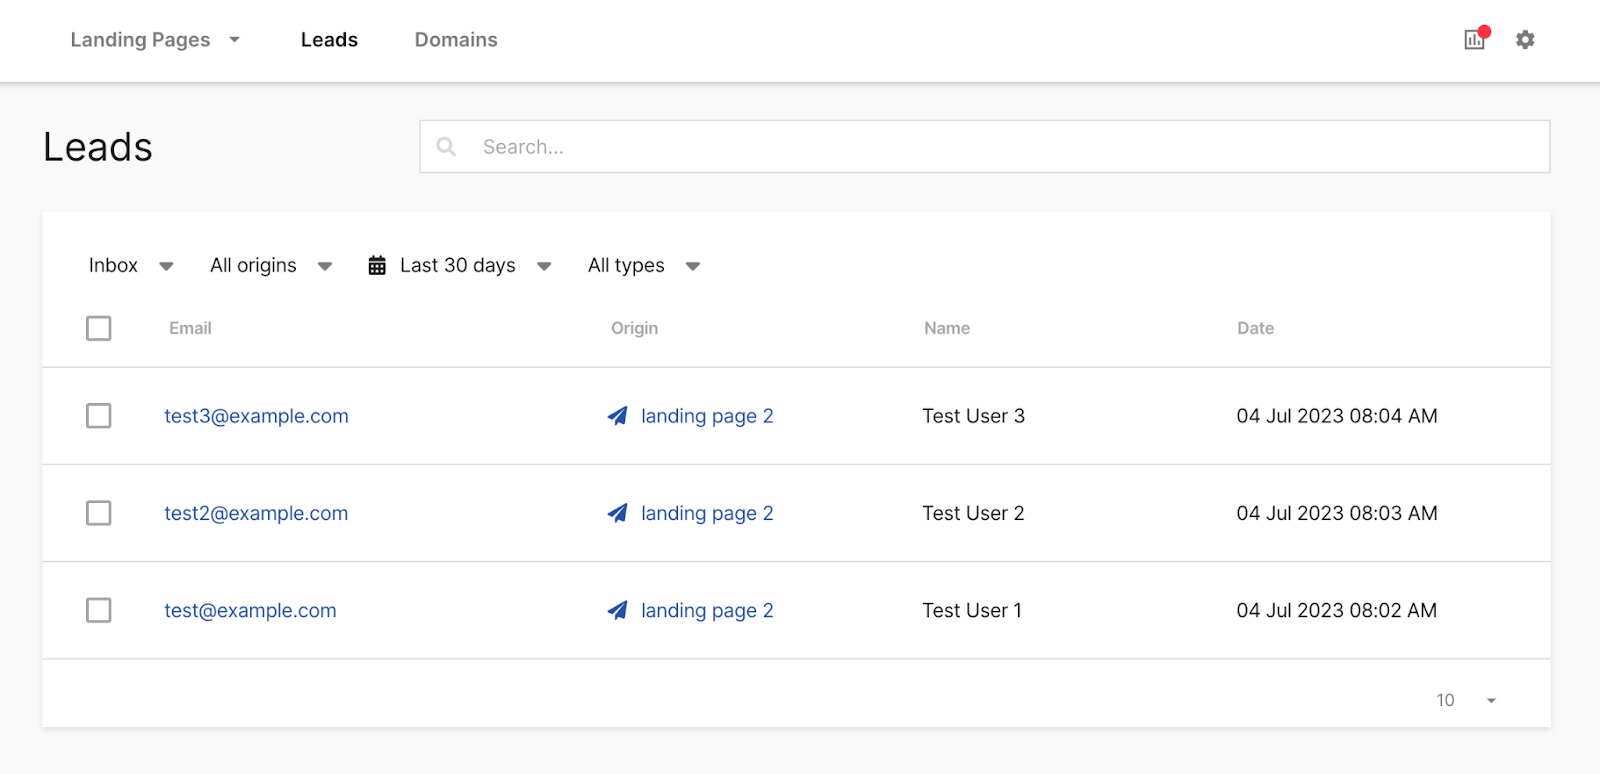
Here, you can view all of your leads from all landing pages, consolidated into one inbox, or filter by specific page or date range.
If you click on a lead, you can see its complete details, including:
- Landing page of origin
- Name
- IP address
- Any other completed fields
.gif)
In the top right corner, click “Mark as spam” for any unwanted leads to remove them from your primary inbox.
If you have any questions about Landing Page Builder, or if you would like to know more about the Semrush App Center, please email us at app-center@semrush.com.