The Ads Launch Assistant app allows you to easily create and analyze your Google ads campaigns.
It uses Semrush keyword data and AI for instant campaign creation and helps you quickly understand your campaigns' performance with visual reporting.
With this tool, you can:
- Quickly set up your first campaign
- Build your ad with instant keywords and ad copy suggestions
- Select a budget for the campaign with recommendations
- Import information from Google Business Profile
- Keep all campaigns in one dashboard
- Easily edit a campaign
- See distribution by location and device
- Find the search terms making the most significant difference
How The Ads Launch Assistant App Can Help You
The Ads Launch Assistant, an official Google Partner, is ideal for advertisers who need to launch and analyze Google Ads campaigns quickly.
This app can help you:
- Get the most out of your ad budget
- Analyze data and make informed decisions
- Measure your success
- Maximise ad performance
- Identify and report which campaigns are struggling and which are performing
- Get ahead of your competitors
- Improve conversions
Pricing
The Ads Launch Assistant app is free for all registered Semrush users.
Users will be asked to top-up their balance in the app before launching a campaign.
Once the campaign goes live the app starts to check the Ad spend, updating the advertising expenses and balance value on a daily basis.
For advertising expenses in campaigns created with the help of the app, Semrush deducts a 10% commission from the balance.
To find out how to add an app, you can visit the App Center’s guide on how to add apps.
How to use Ads Launch Assistant
Step 1: Create and Connect Google Ads Account
Start by watching a short onboarding tutorial and clicking the Sign up with Google button within the Ads Launch Assistant app.
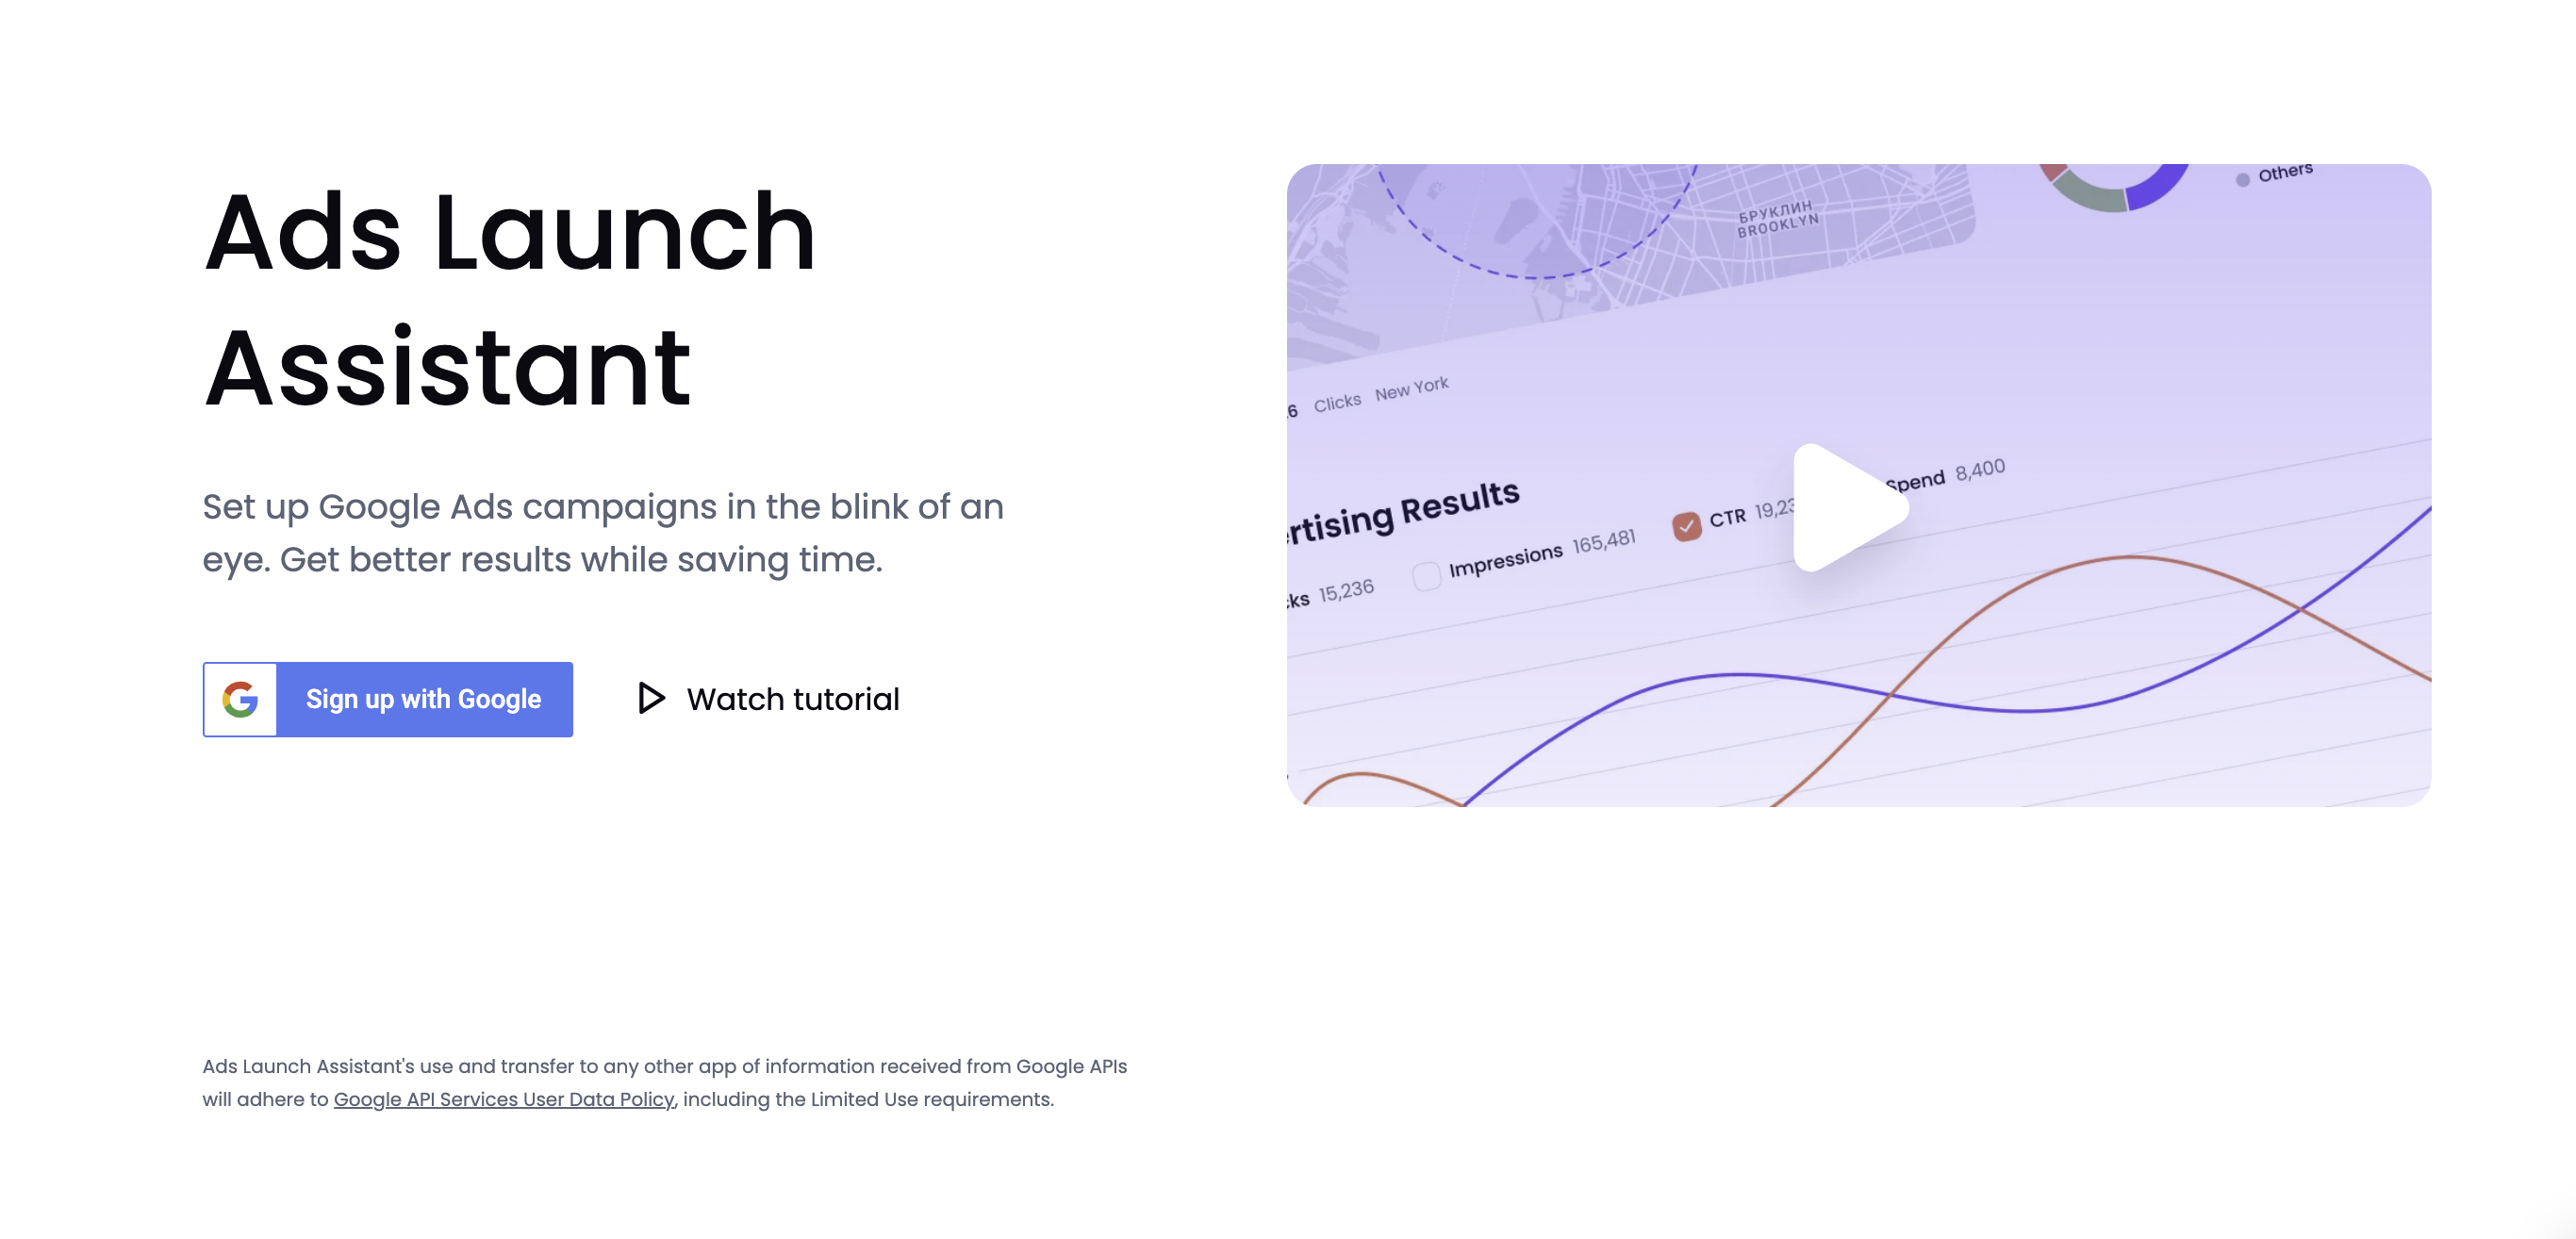
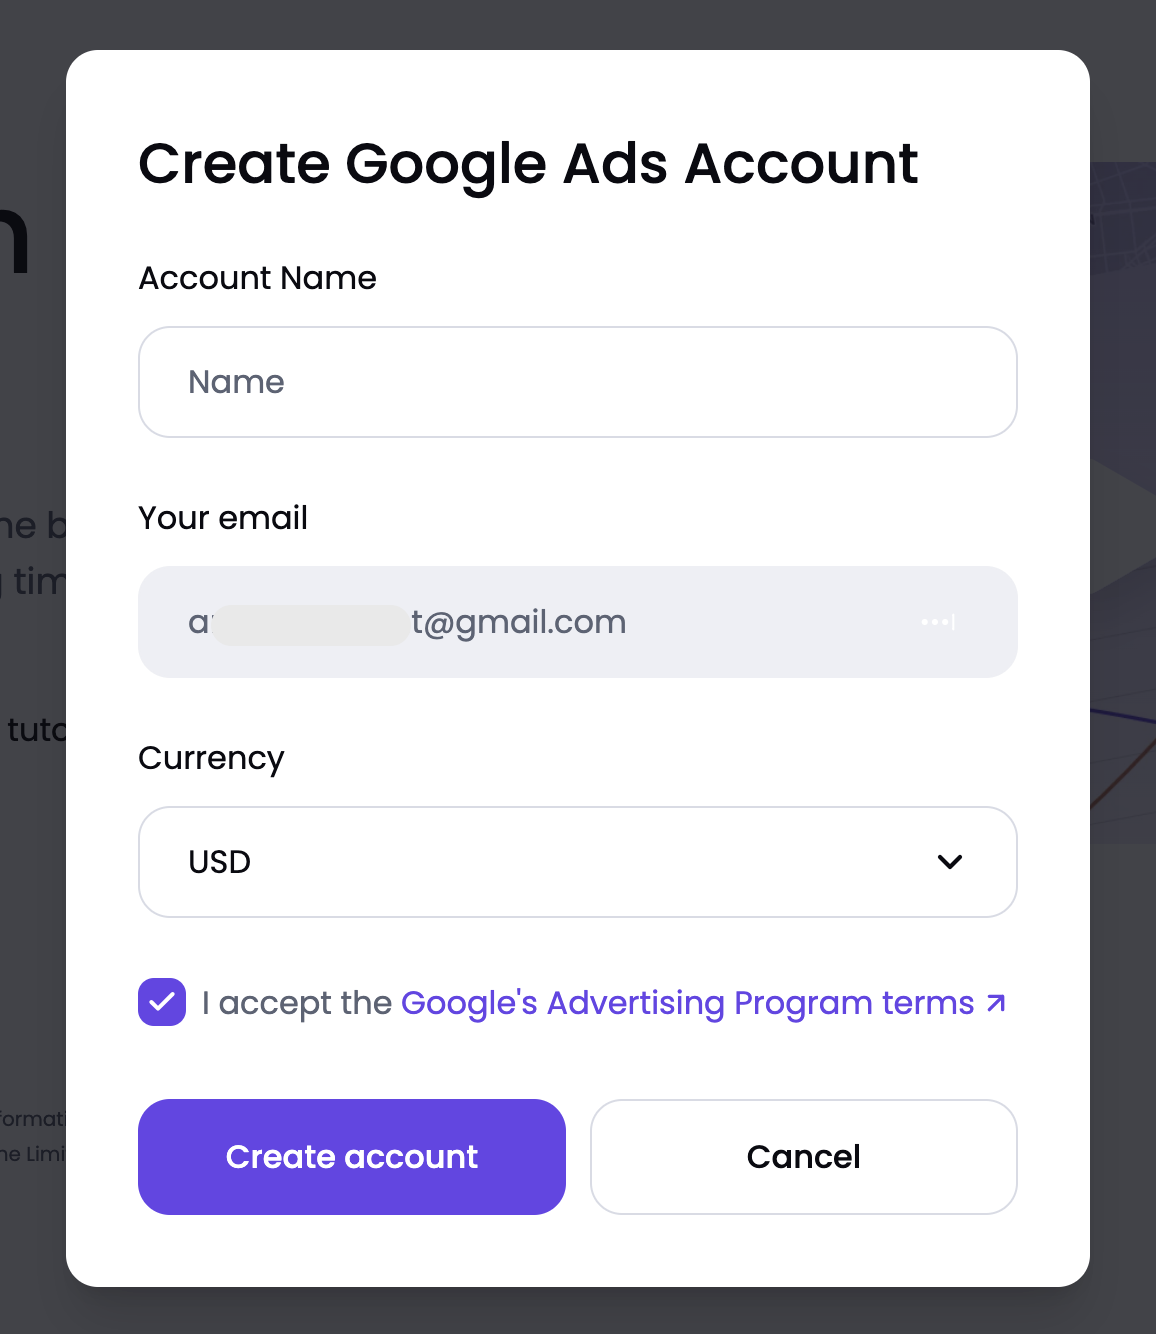
This button will lead to a pop-up where you can create a Google Ads account. Fill in your account name, email, and currency. Read and accept the Google’s Advertising Program terms, and click the Create account button.
Step 2: Set up Google Ads
Follow the four steps to finish creating your Google Ads account. Click on Go to Google Ads to confirm your consent to create an account, fill in the required information, and add your billing information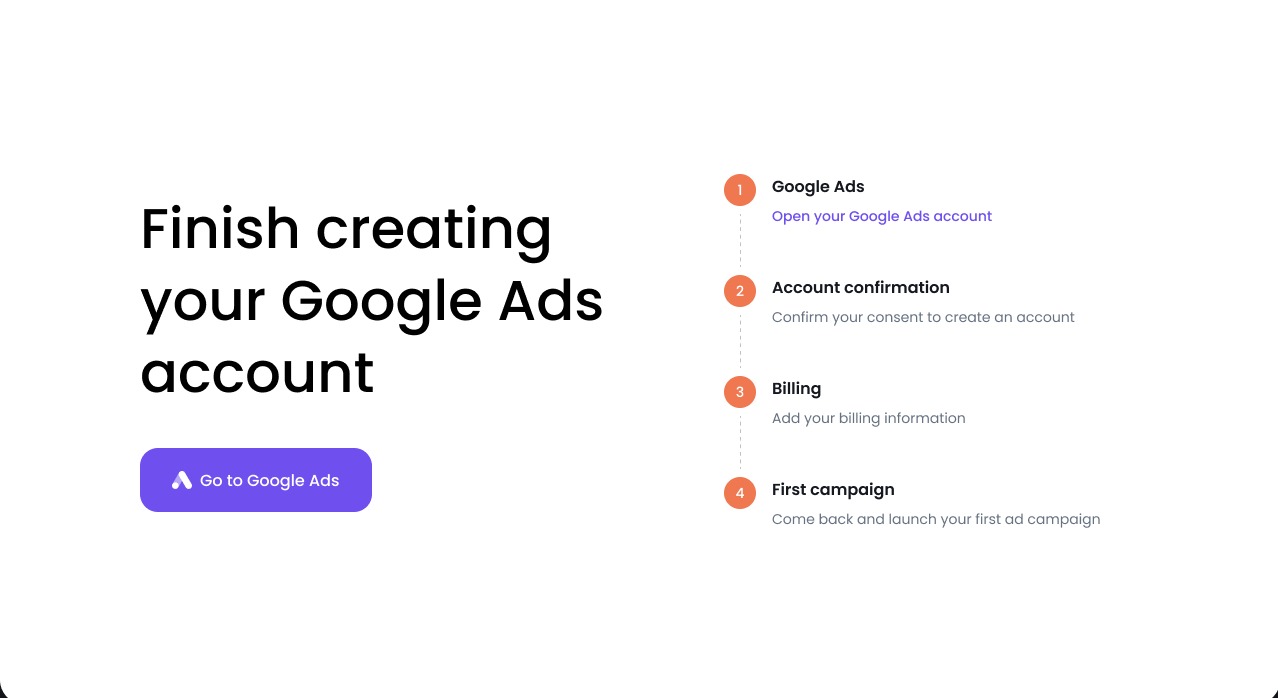
You will be redirected to your Google Ads cabinet with an invitation for further needed actions.
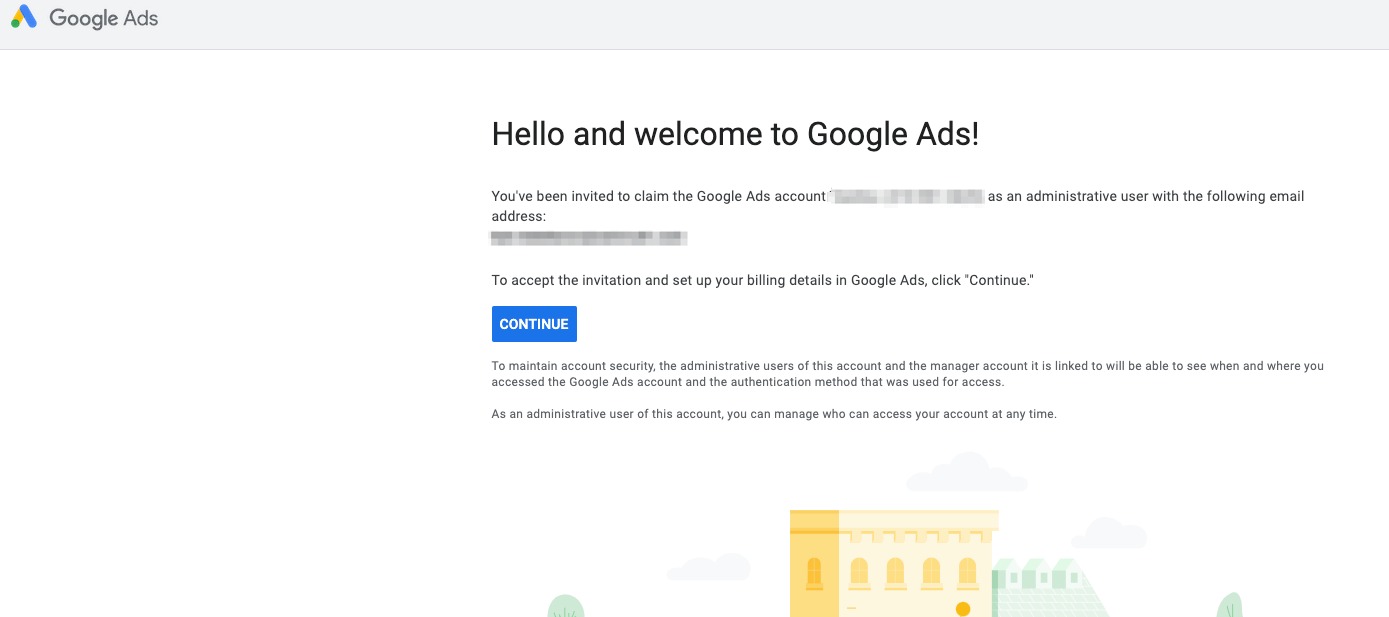
After clicking “Continue”, it will take you to the page where billing setup needs to be done.
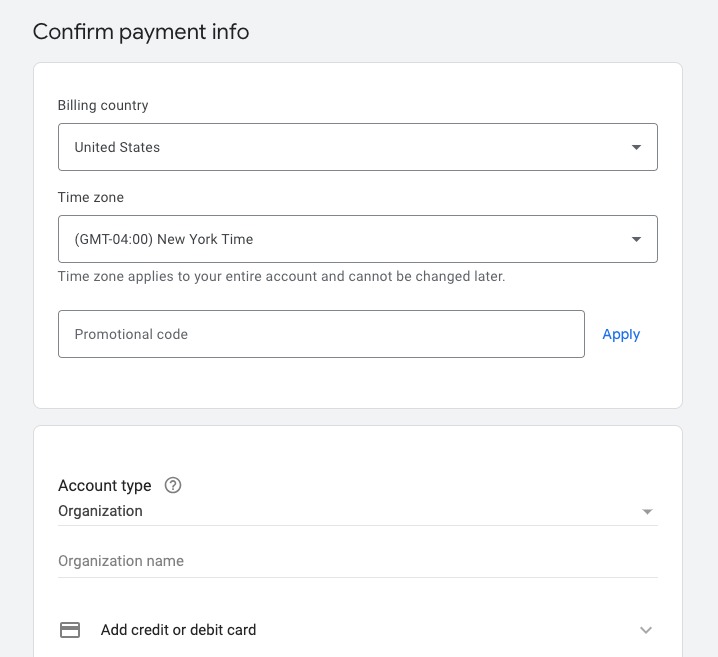
Billing must be set up; you need this step to start a campaign.
Please refer to Google’s Submit billing information for details about how to set up billing.
After filling in the billing information, return to Semrush Ads Launch Assistant and refresh the page. You will then be able to create your first campaign.
Step 3: Campaign Set Up
There are two types of Google campaigns that are launched through Ads Launch Assistant: Smart Campaigns and Search Campaigns.
In this setup guide, we’ll use a Smart Campaign as an example of your first launch. For information on how to launch a Search Campaign, check out the “How to Set Up a Search Campaign” section at the end of this article.
After successfully setting up your Google Ads account, return to Semrush to create your first campaign. Enter the name of your first Smart Campaign.
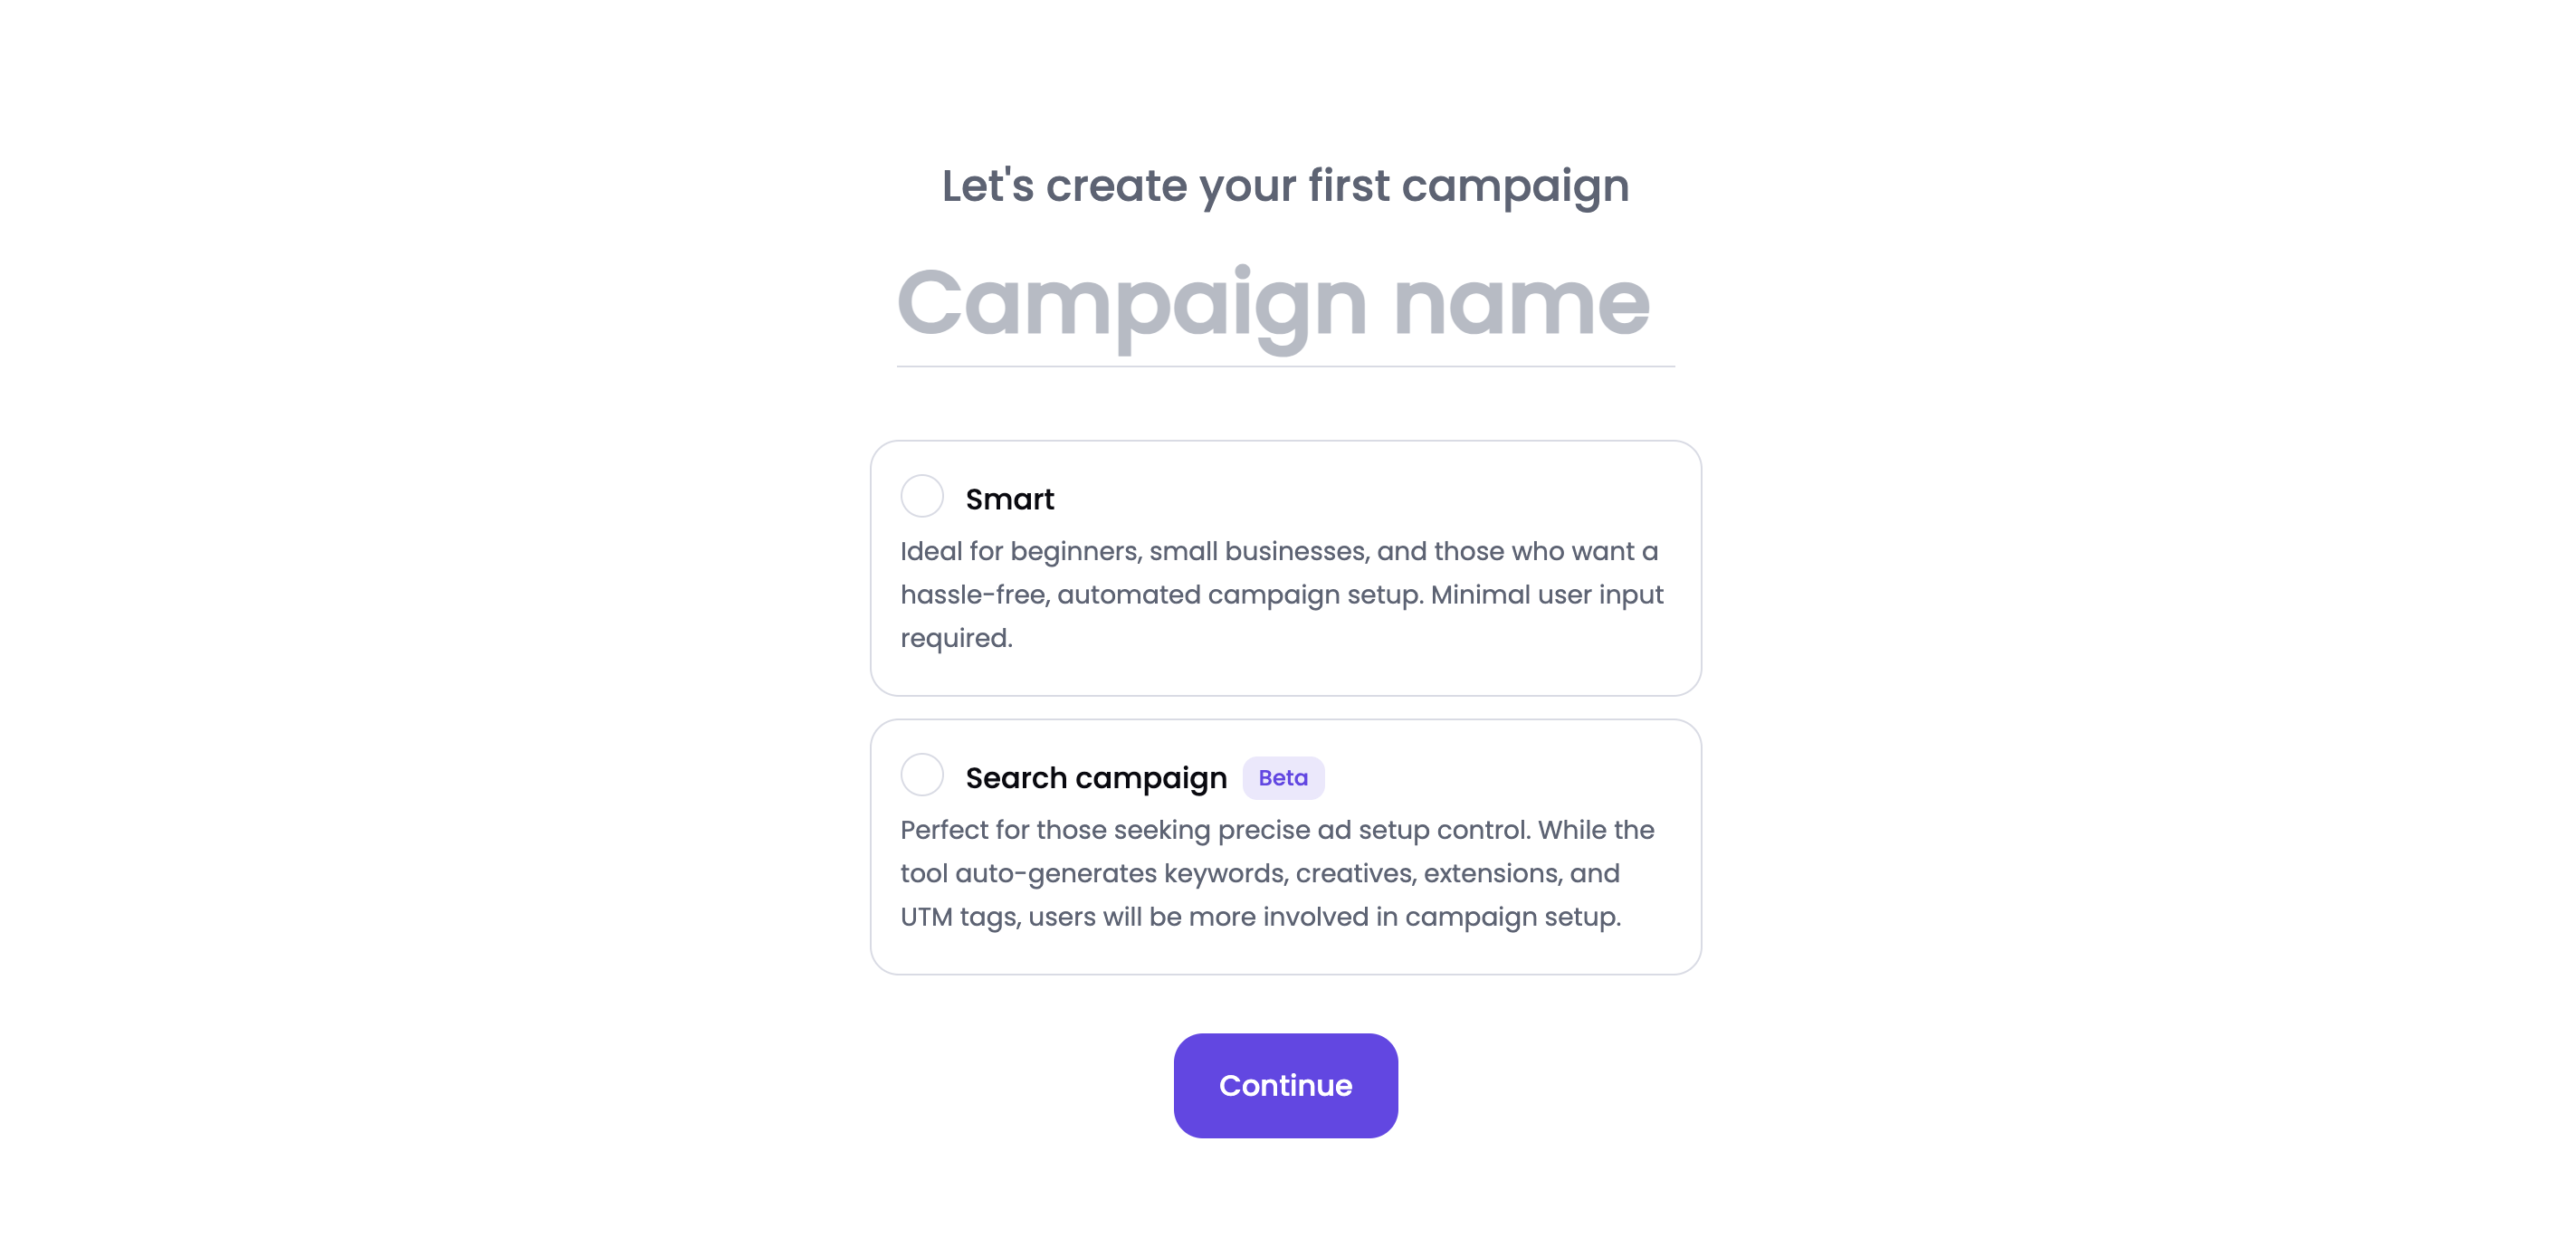
Please note: Campaign names should be unique, as Google doesn’t allow campaigns with the same name.
All the campaigns that are launched through Ads Launch Assistant are Smart Campaigns. There are two types of Google campaigns: Smart Campaigns and Search Campaigns.
A Smart Campaign uses keyword themes instead of keywords. Keyword themes act as keywords with broader matches and match ads with searches on Google.
For more information on Smart Campaigns, please refer to Google’s How Smart campaigns work.
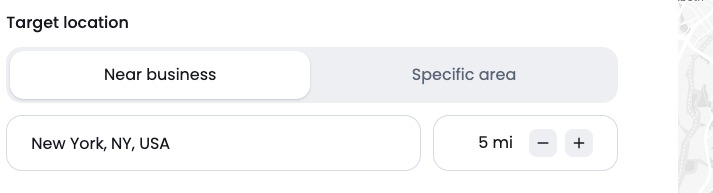
Next, fill in the form to provide general information about your business. The required fields include business name, business website, target location, and language. Phone number is optional.
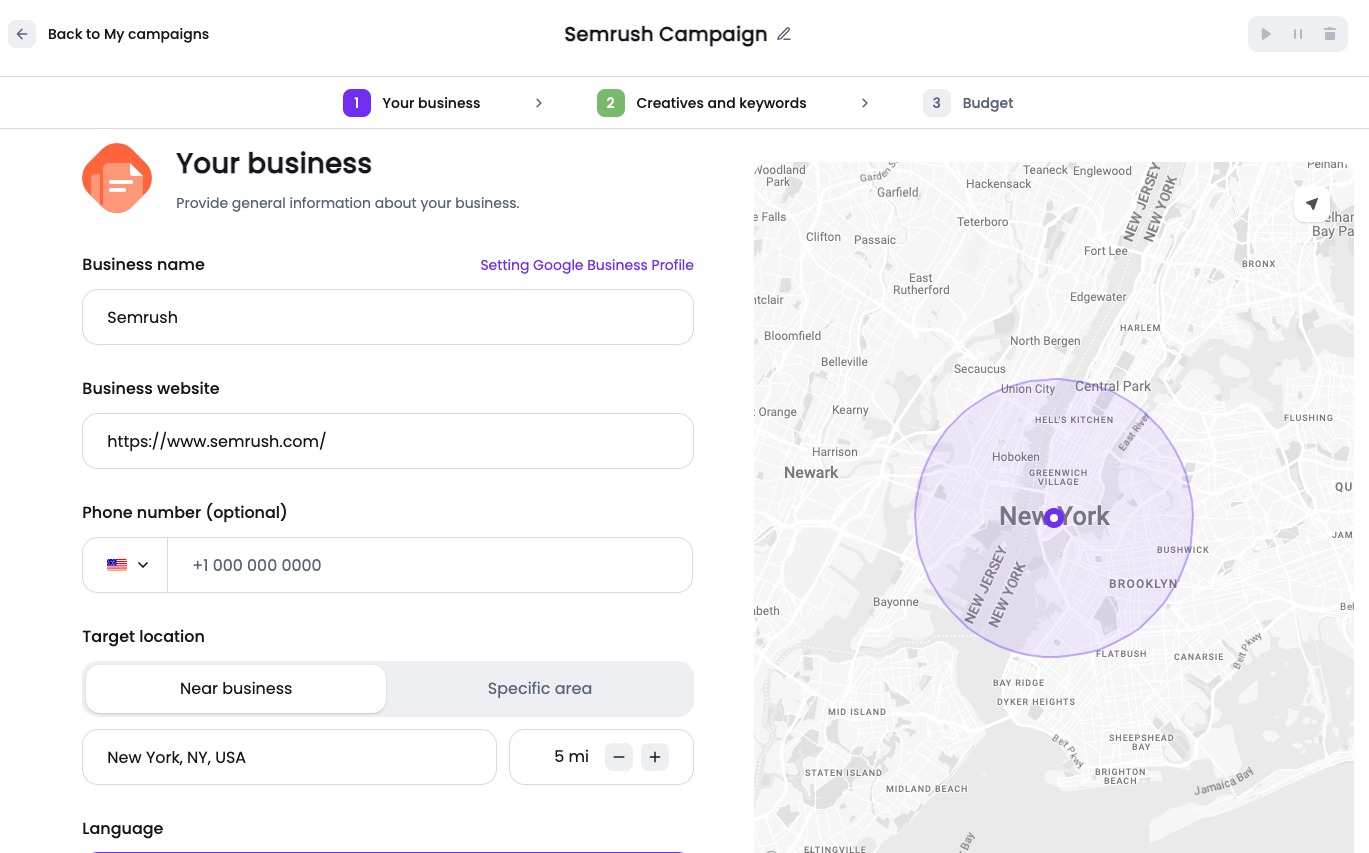
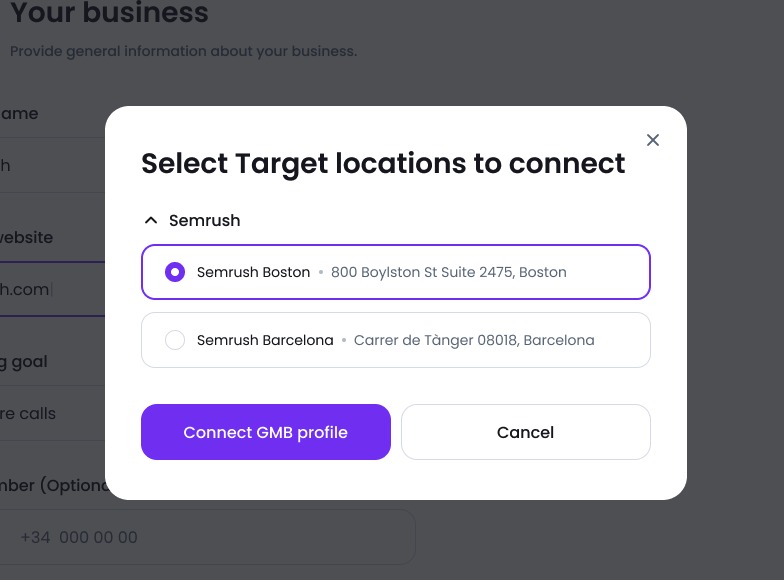
Connect your Google Business Profile to pull relevant information into the form.
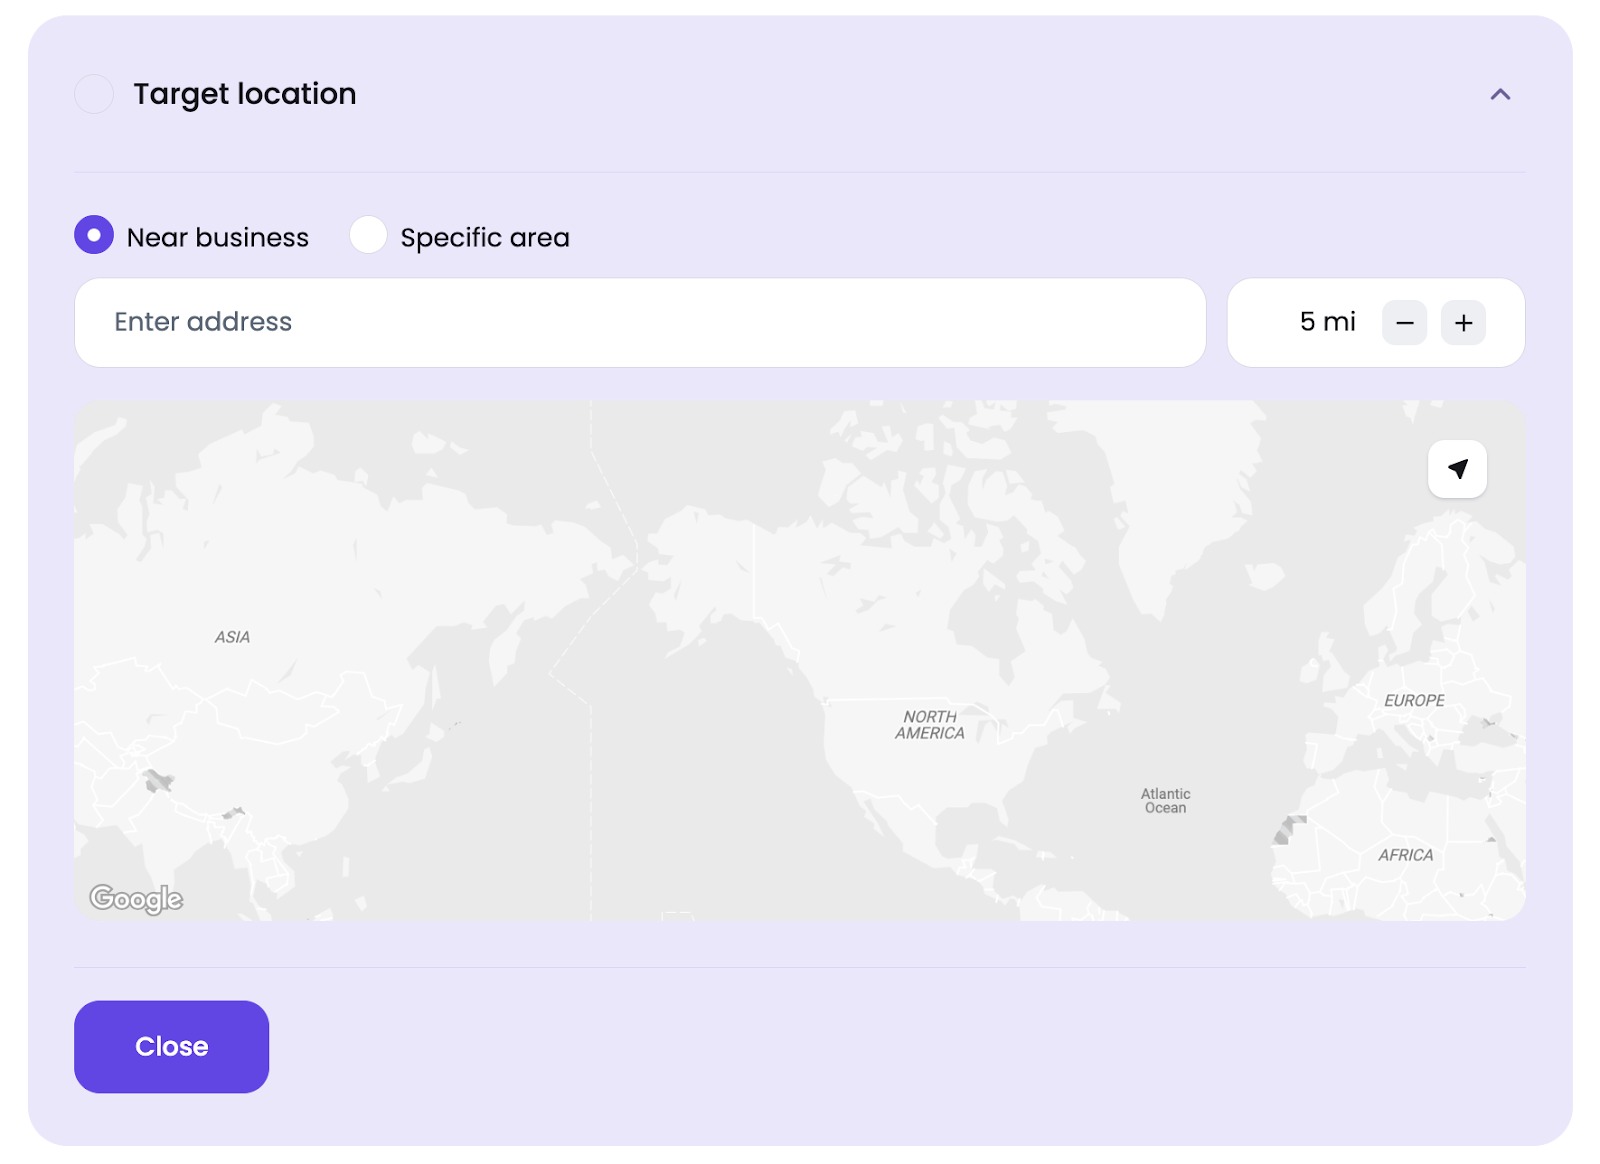
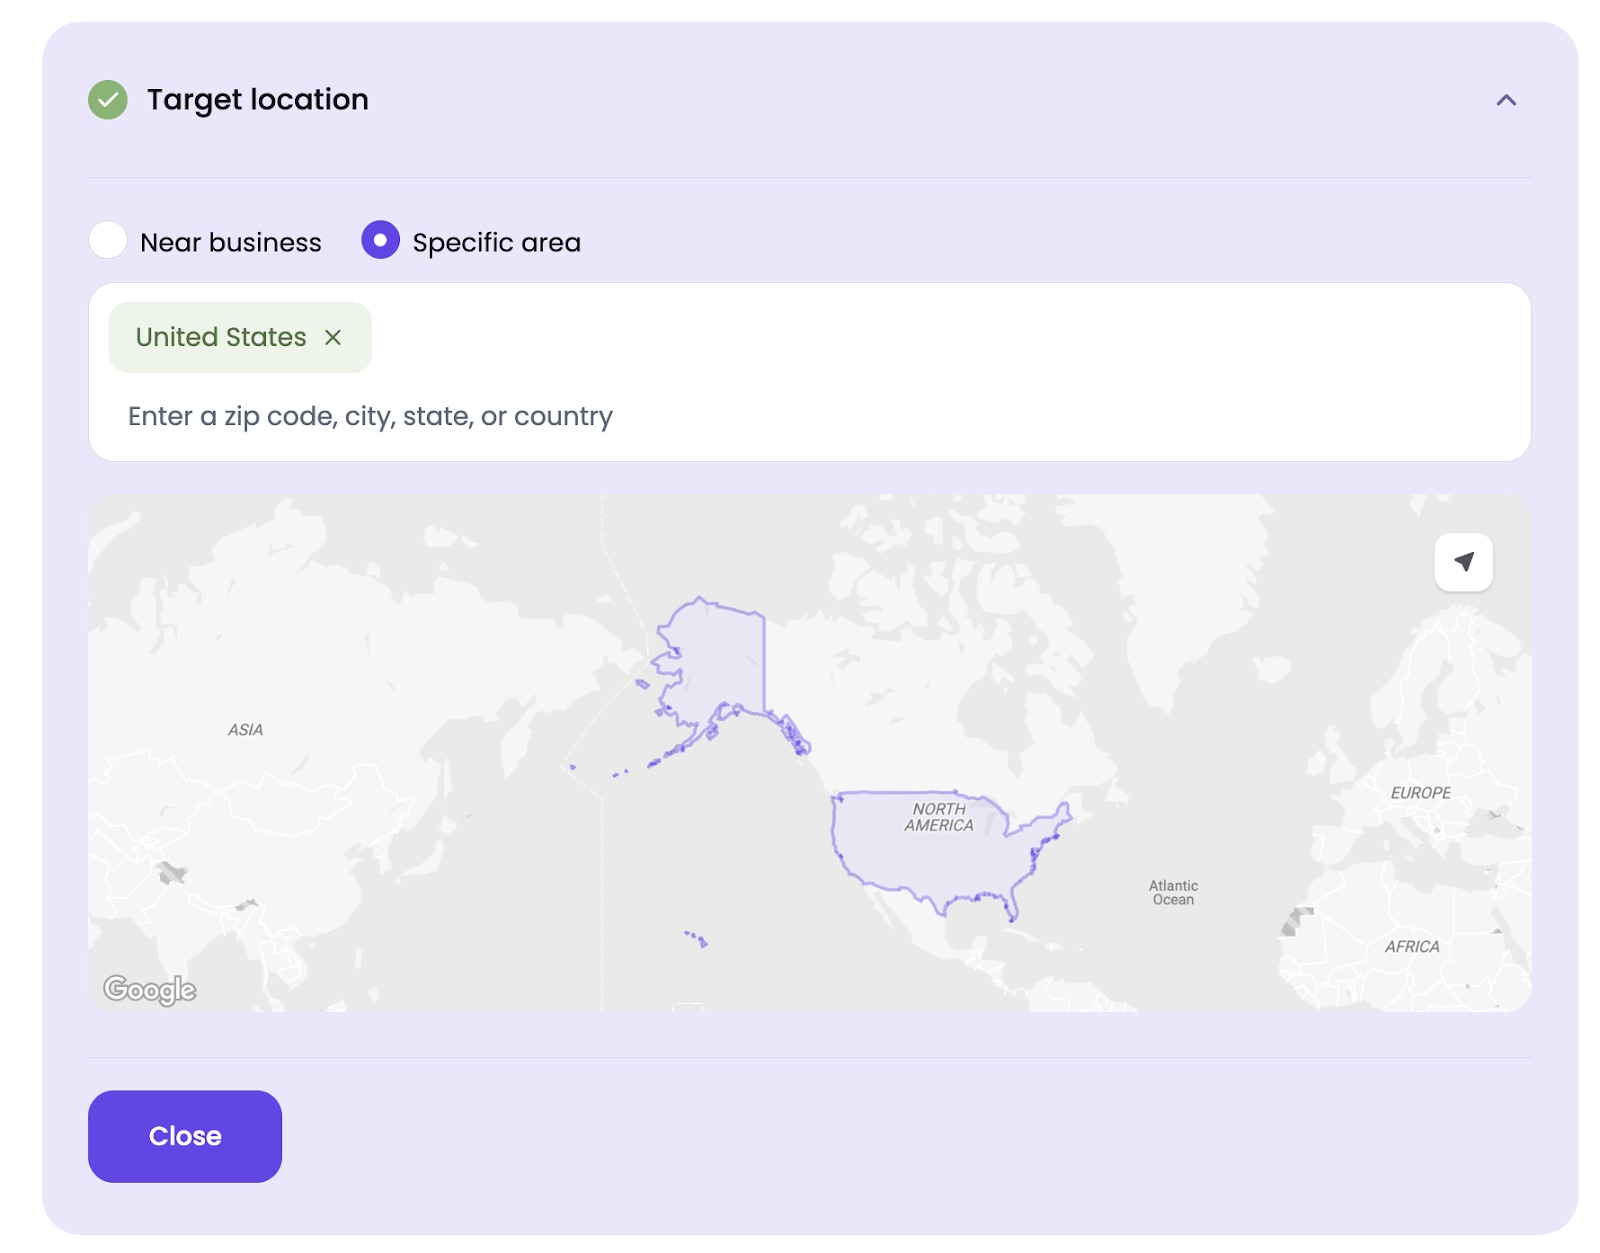
For Target location, the Near business toggle allows you to enter the name of an area and the distance to target in kilometers. The Specific area toggle enables you to input an address manually. Both will show a map after the details are entered.
Next, build your ad and pick suitable keyword themes.
Choose up to ten keyword themes. The tool will generate these suggestions in the language you have previously chosen.
Then choose a suggested headline and description of your ad. AI generates these and can be manually edited.
AI uses the page content and keyword themes to create ad copies that suit Google Ads guidelines and better respond to the searcher's intent.
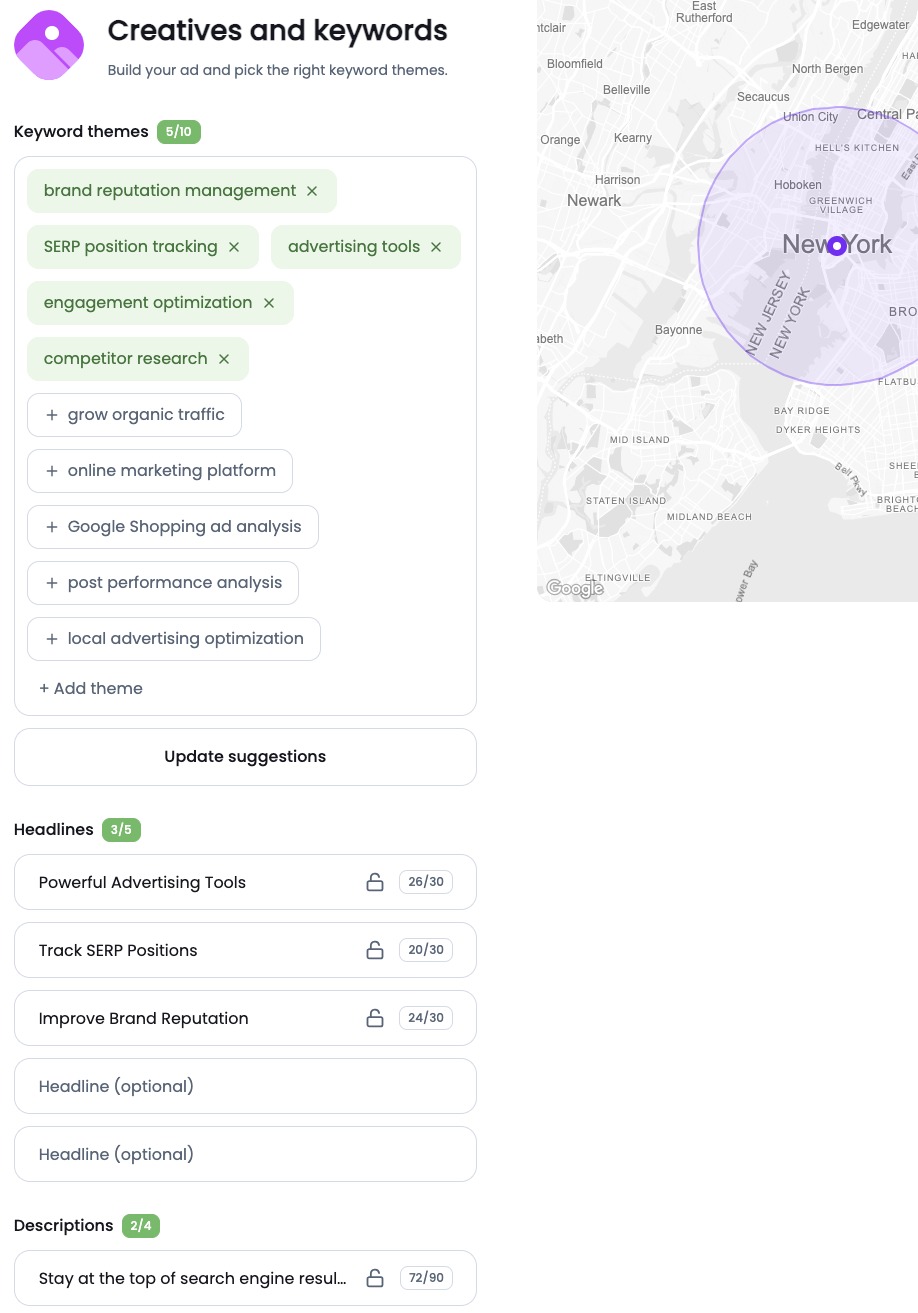
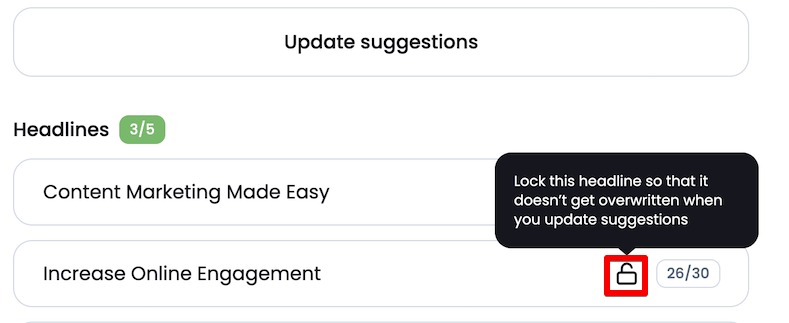
In order for the AI to provide suggestions, click the “Suggest headlines and descriptions” button. The suggestions will use the language you’ve chosen for the campaign.
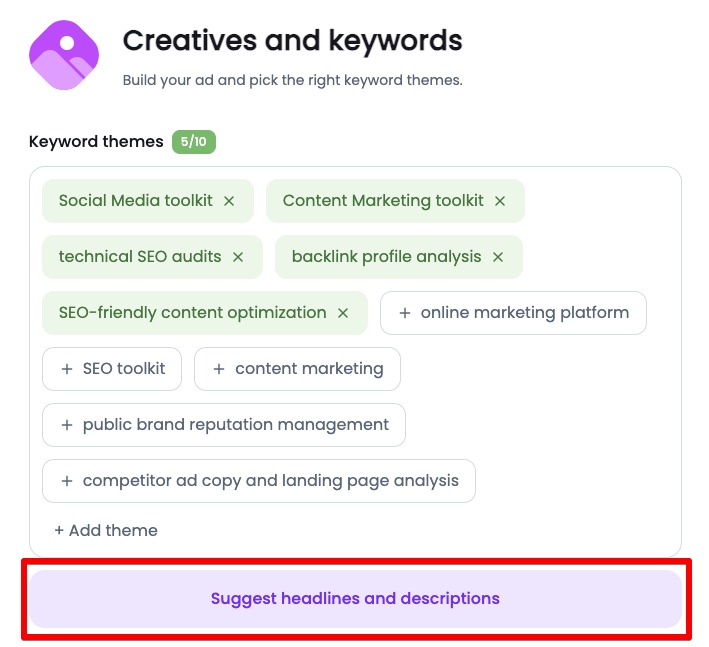
In case some suggestions do not suit your criteria, you can generate more suggestions by clicking “Update suggestions”. That will refresh suggestions and replace them.
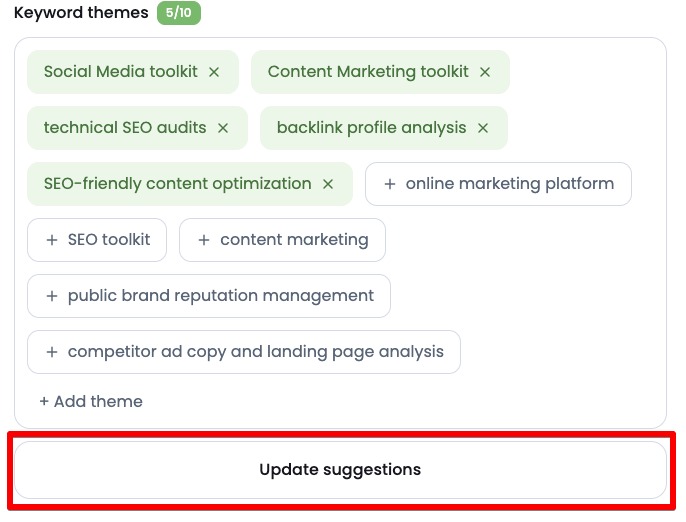
In case you need to keep some suggestions and update the rest, you can click on the lock symbol near a suggestion to keep that suggestion intact.
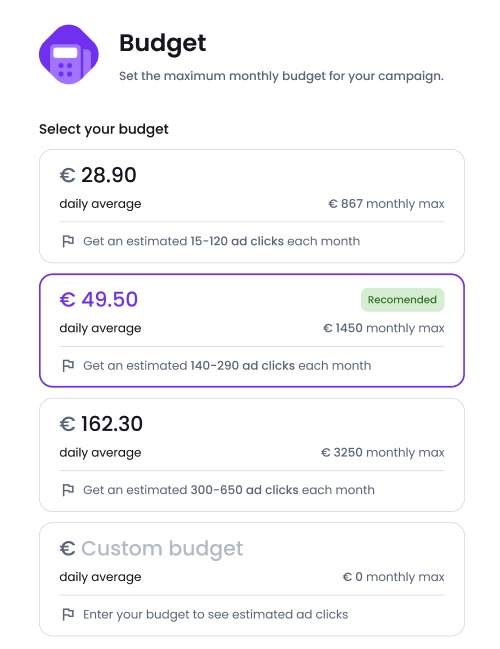
Lastly, select the maximum monthly budget for your campaign.
Here you can choose a budget or manually enter a custom budget. The provided budgets are suggestions from Google taking into account the language, keywords CPC, and location.
Your first campaign is ready to go! Click the Create campaign button.
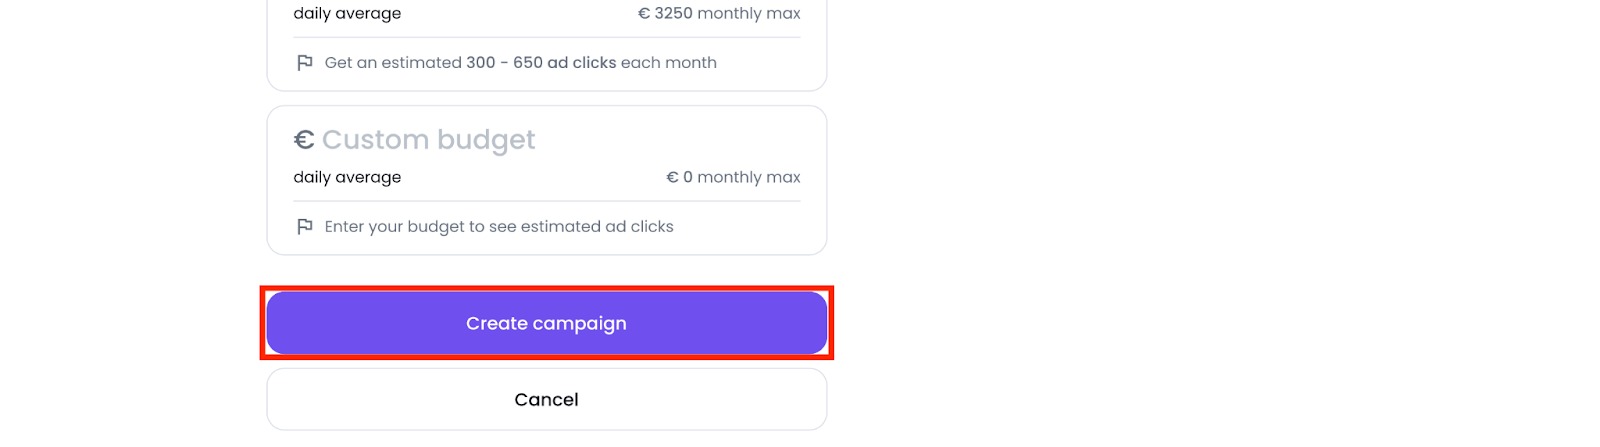
The campaign may take some time to be approved by Google. You will see it with the “pending approval” status in the My Campaigns dashboard.
Step 4: My Campaigns
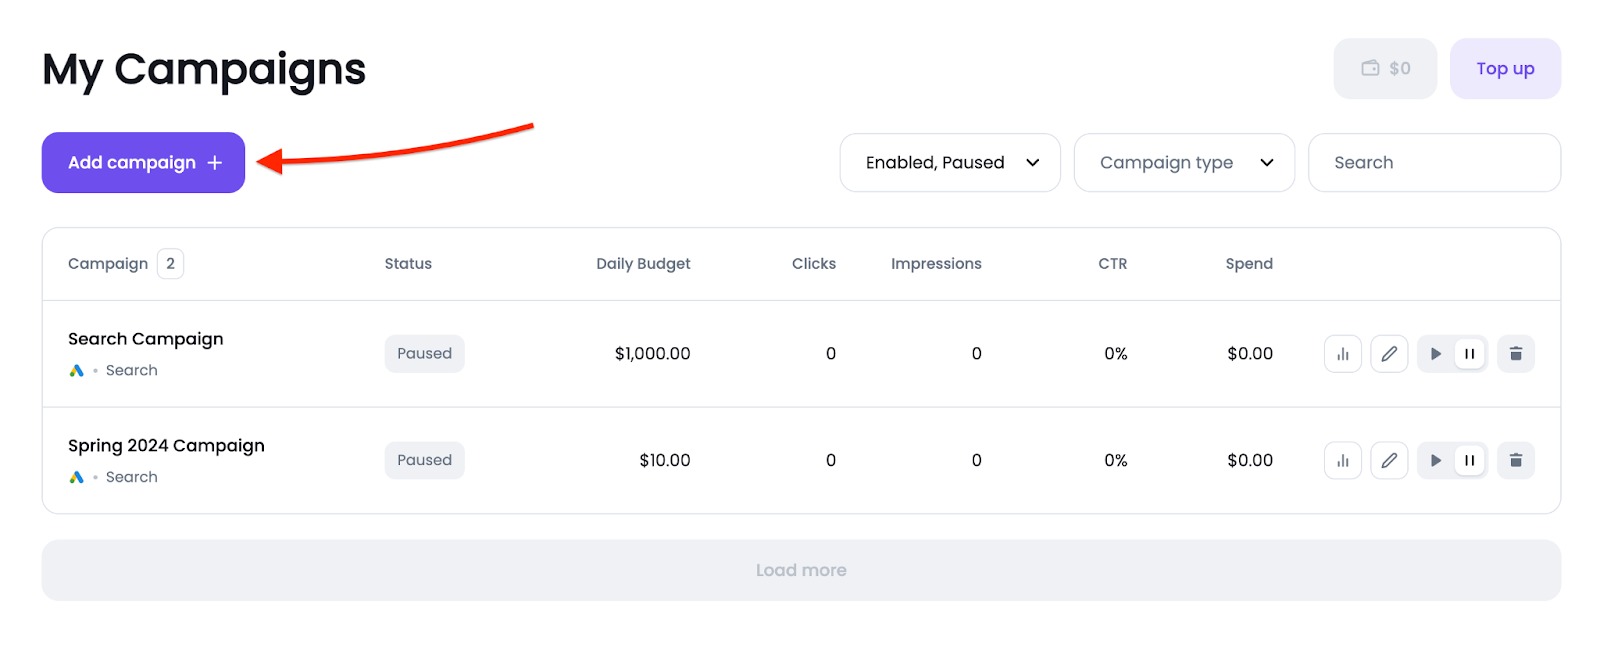
The My Campaigns dashboard lists all your campaigns. Here you will see the following metrics for each campaign:
- Status: the campaign's status.
- Daily budget: the average amount you set for each ad campaign per day.
- Clicks: how many times your ad has been clicked on.
- Impressions: how often your ad is shown on a search result page.
- CTR (Clickthrough rate): the number of clicks your ad receives divided by the number of times your ad is shown.
- Spend: how much money has been spent in total for the campaign.
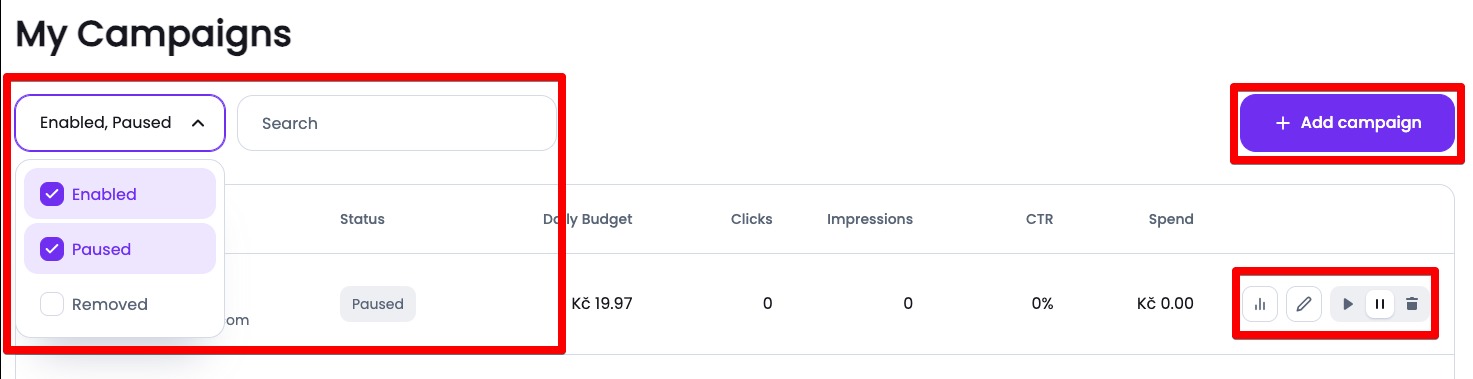
The My Campaigns dashboard makes it easy to analyze all your Google Ads campaigns in one place.

Use the filters at the top to quickly find campaigns depending on their status or type.
- Eligible
- Pending: to be approved by Google.
- Paused
- Removed
Click the Add campaign button in the top right-hand corner to add a new campaign. Use the buttons next to each campaign to see reports, edit, start, pause, or delete the campaign.
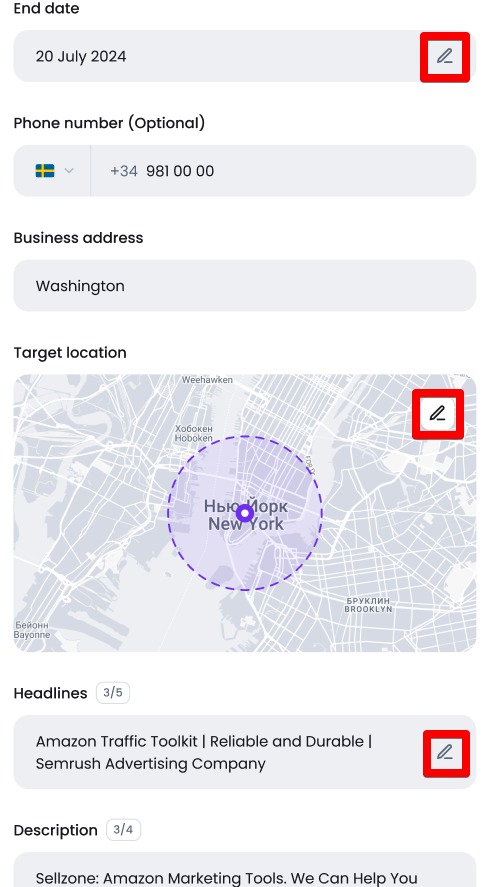
Click the Edit campaign button to edit the target location, headline, description, keyword themes, budget, and ad schedule.
Campaigns can be stopped, and budgets can be customized at any time. Any changes to the Creatives and Keywords section (keyword themes, headlines, description, business website, logos) require approval from Google and take approximately a day.

Please note: the business name and start date can’t be edited after starting the campaign.
If you edit the campaign’s location or keyword themes, Google will re-calculate the CPC according to the new location/keyword themes. Some locations and keywords are cheaper/more expensive; therefore, the cost per click changes.
Click the pencil button to edit a section of the campaign.
.png)
The campaign editing page also allows you to edit your ad schedule. Make your changes and click the Save & Close button.
Use the visual reports to identify your growth points and measure your campaign’s success.
Click the View report button next to the campaign to access the report with additional metrics.

At the top of the report, you will see the metrics:
- Impressions: how often your ad is shown on a search result page.
- Clicks: how many times your ad has been clicked on.
- Spend: how much money has been spent in total for the campaign.
- Conv.: such actions like placing an order or a product being added to cart count towards the Conversions metric.
- All Conv.: any action that could possibly signal about conversion.
- Av. CPC (Average cost-per-click): The average amount you've been charged for a click on your ad.
- Calls: the number of clicks on the phone number. Phone number will define this metric.
- Directions: Google Maps will appear when a user clicks on the address. This metric shows the number of users who created directions on Google Maps. Location will define this metric.

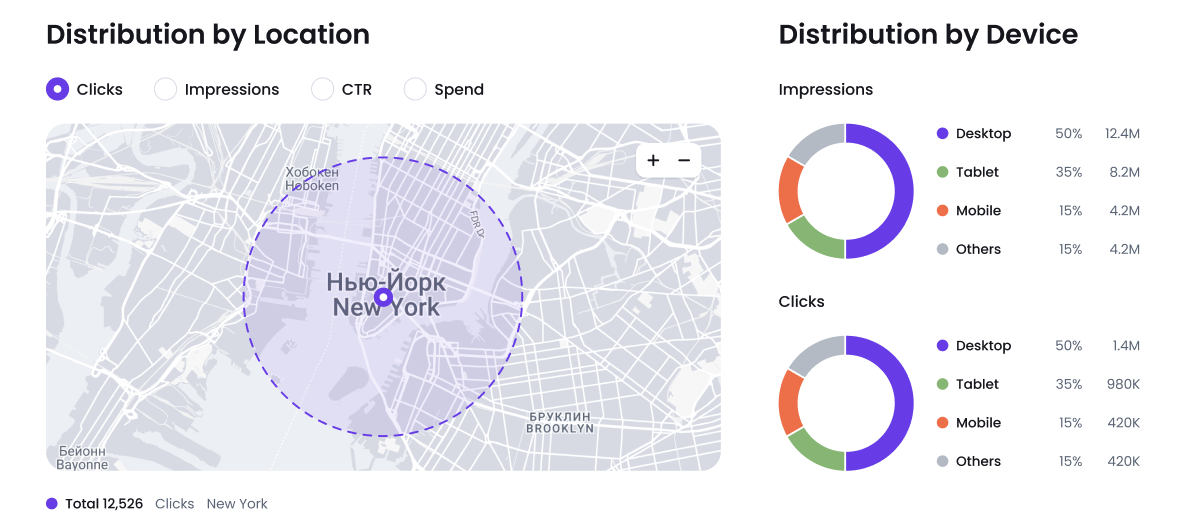
Distribution by Location shows the number of clicks/impressions/CTR/spend by location.
If your campaign targets the whole country, the map will break down the total into regions and cities. The map will show city blocks and areas if your campaign targets a city. If your campaign targets two cities, it will show the country level.
The Distribution by Device widget shows the number of impressions and clicks broken down by device type (desktop, tablet, mobile, and others).
Advertising Results show how the number of clicks, impressions, CTR, and spending has changed since the campaign started.
This graph makes it easy to compare changes with previous periods for each metric and see how each metric influences the others.
.png)
Search Terms breaks down the number of impressions, clicks, spend, and average CPC for each search term your campaigns run for.
Here it is possible to determine the value and importance of each search term for the campaign.
.png)
Step 5: Spend to get a welcome bonus
Get a $500 ad credit after you spend $500 in 60 days on your first Google Ads campaign launched via Ads Launch Assistant. The Ads Launch Assistant welcome bonus only applies to new Google Ads users. Terms and conditions apply.
The $500 bonus will automatically be added to your Google Ads account and can be used to run campaigns.
How to Set up a Search Campaign
Search campaigns allow you to place ads across Google's vast network of search results. You can show ads to people actively searching online for your products and services. You can learn more about Google Ads Search Campaigns here.
To create your Search Campaign with the Ads Launch Assistant app, in the My Campaigns interface click the Add campaign button:
In the new page that will appear, input your new campaign’s name and choose the Search campaign option.
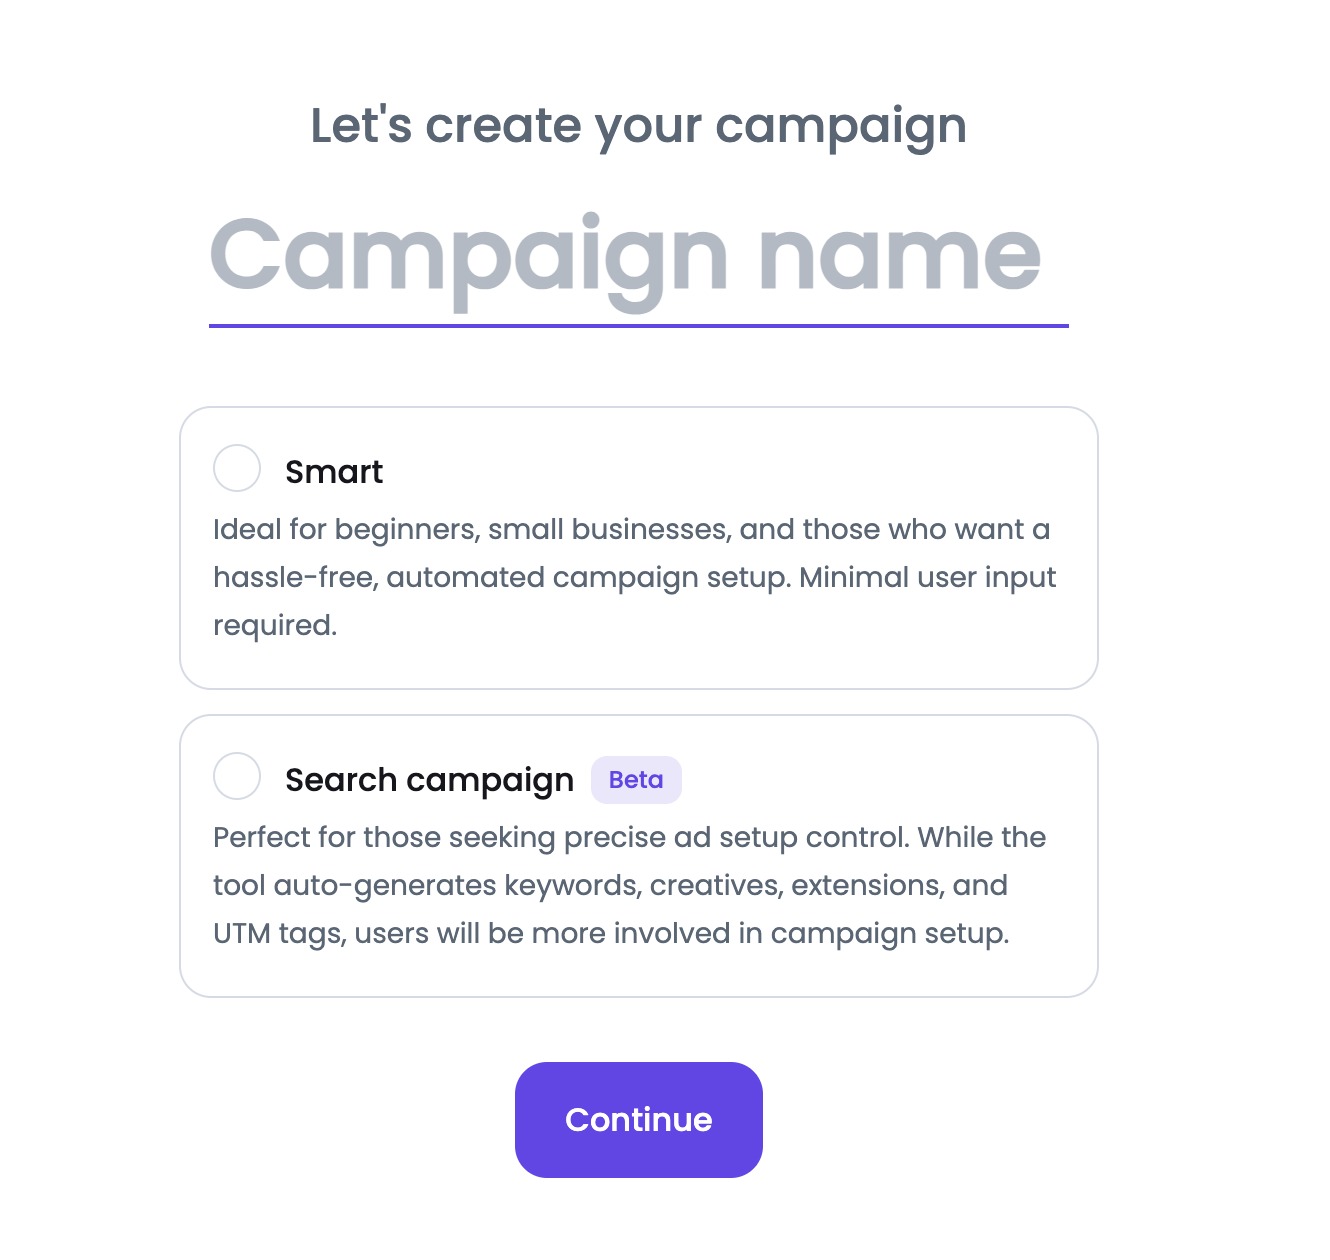
Then, follow the steps below to set up your Search Campaign.
Step 1. General
In this part of the set up you’ll be asked to fill in basic information about your advertising campaign. There are five sections in this part of the setup: Campaign details, Audience, Target location, Tracking template, and Ad scheduling.
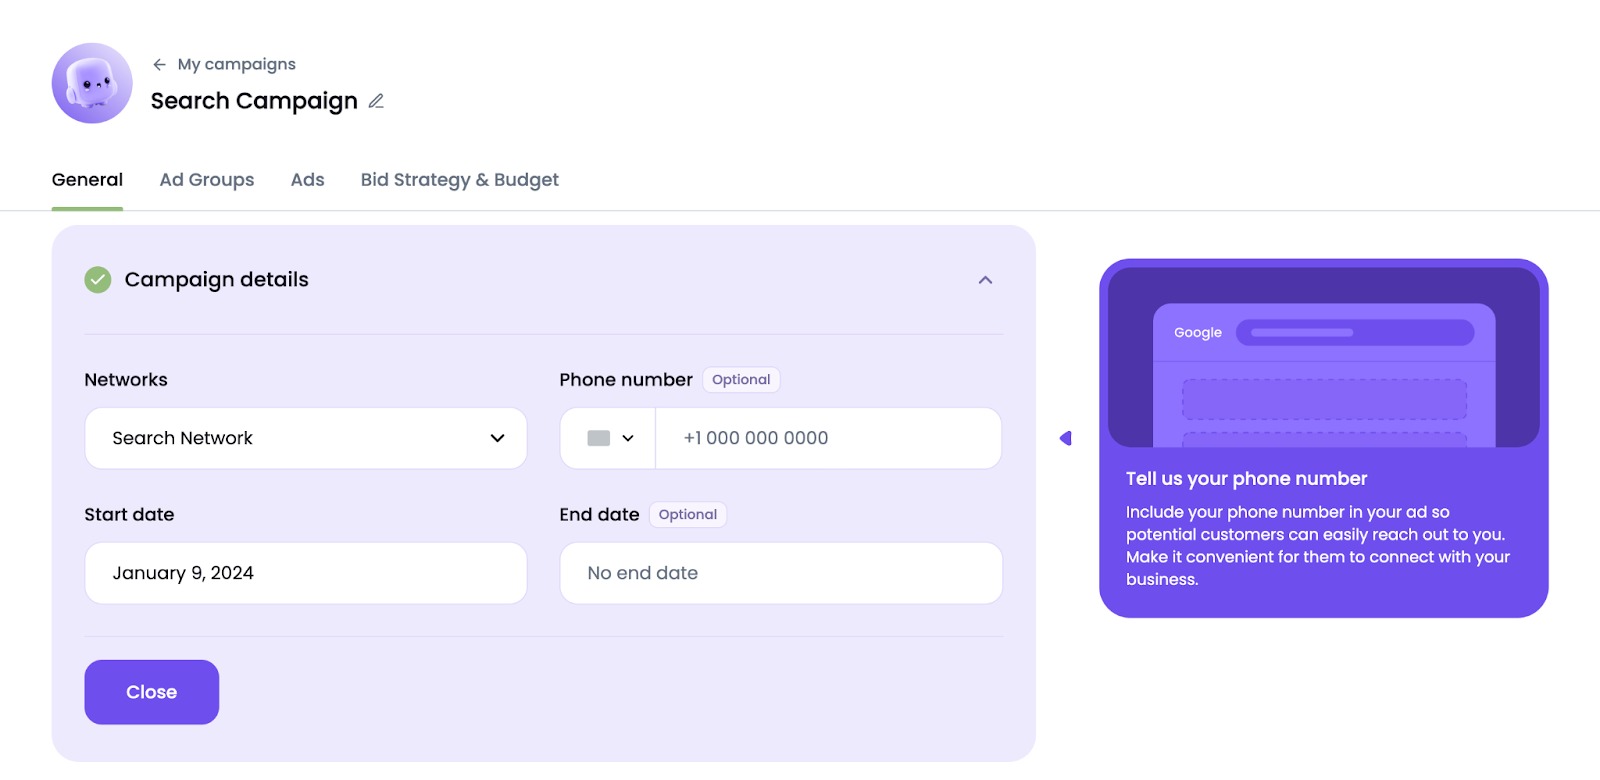
In this section you’ll be asked to include your phone number in your ad and define the start date for your ad to go live. If you're certain about the end date for your ad campaign, specify it now. If you're unsure about the end date, you can add it later.
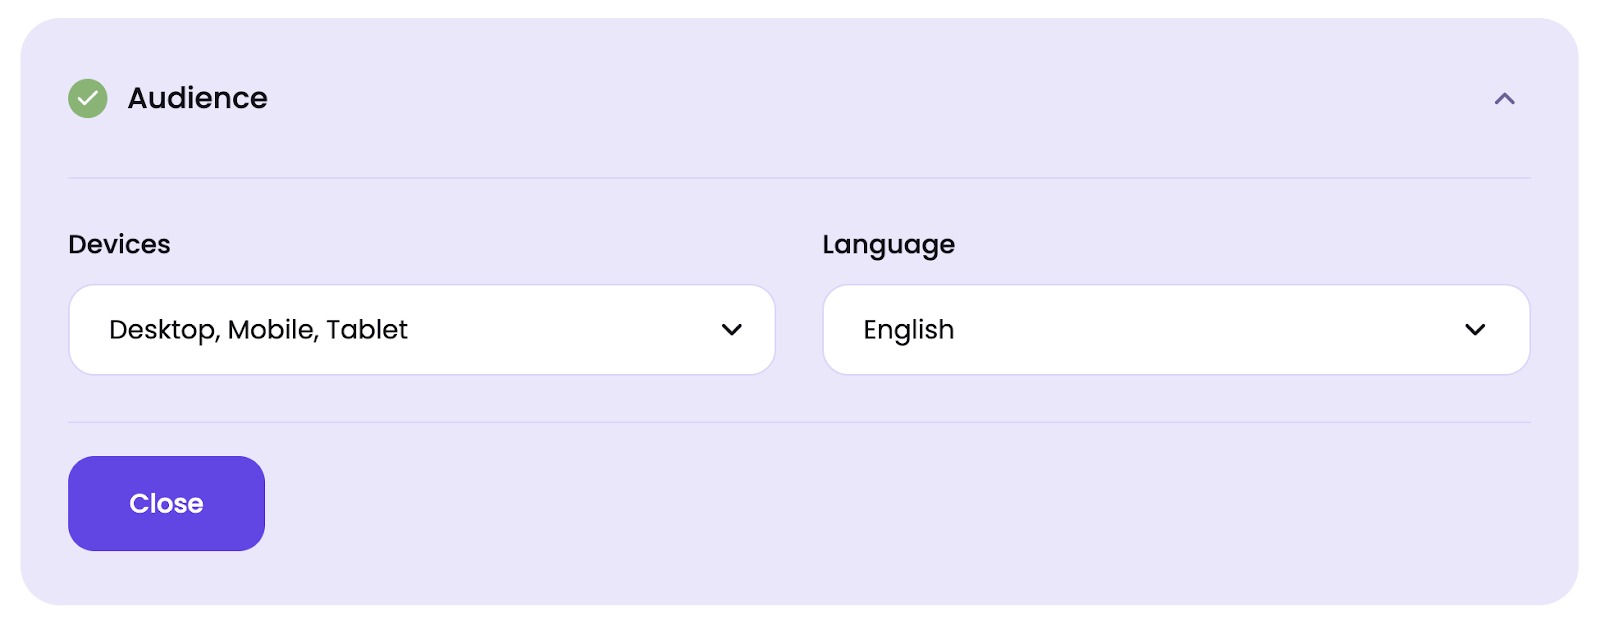
In this section you can choose the preferred devices for displaying your ads and choose the language in which all your keywords and ads will be created.
Here you can select specific locations where you want your ad to be shown.
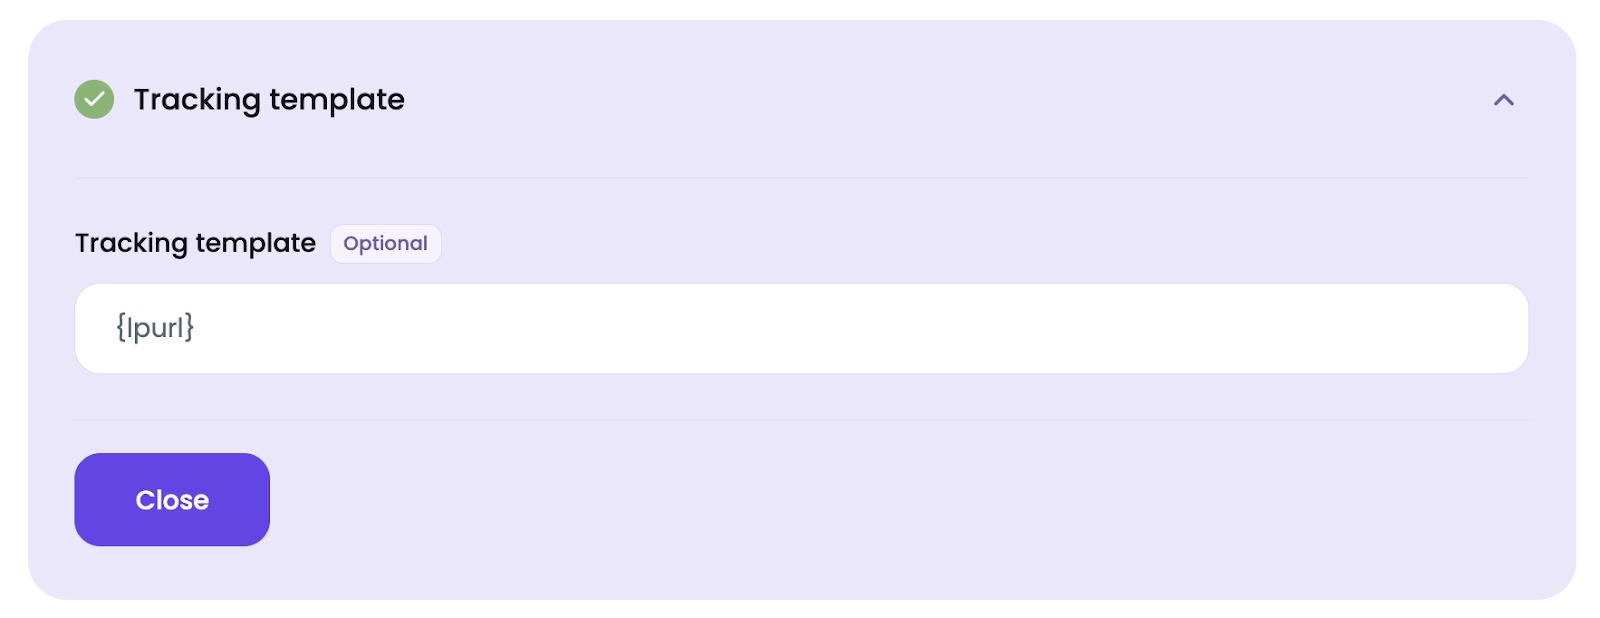
Note: Tracking templates created for a campaign will apply to all ads within that campaign for consistent tracking.
Here you can configure the ad schedule to display your ad only during the hours when your users are most active, to maximize the impact of your ads.
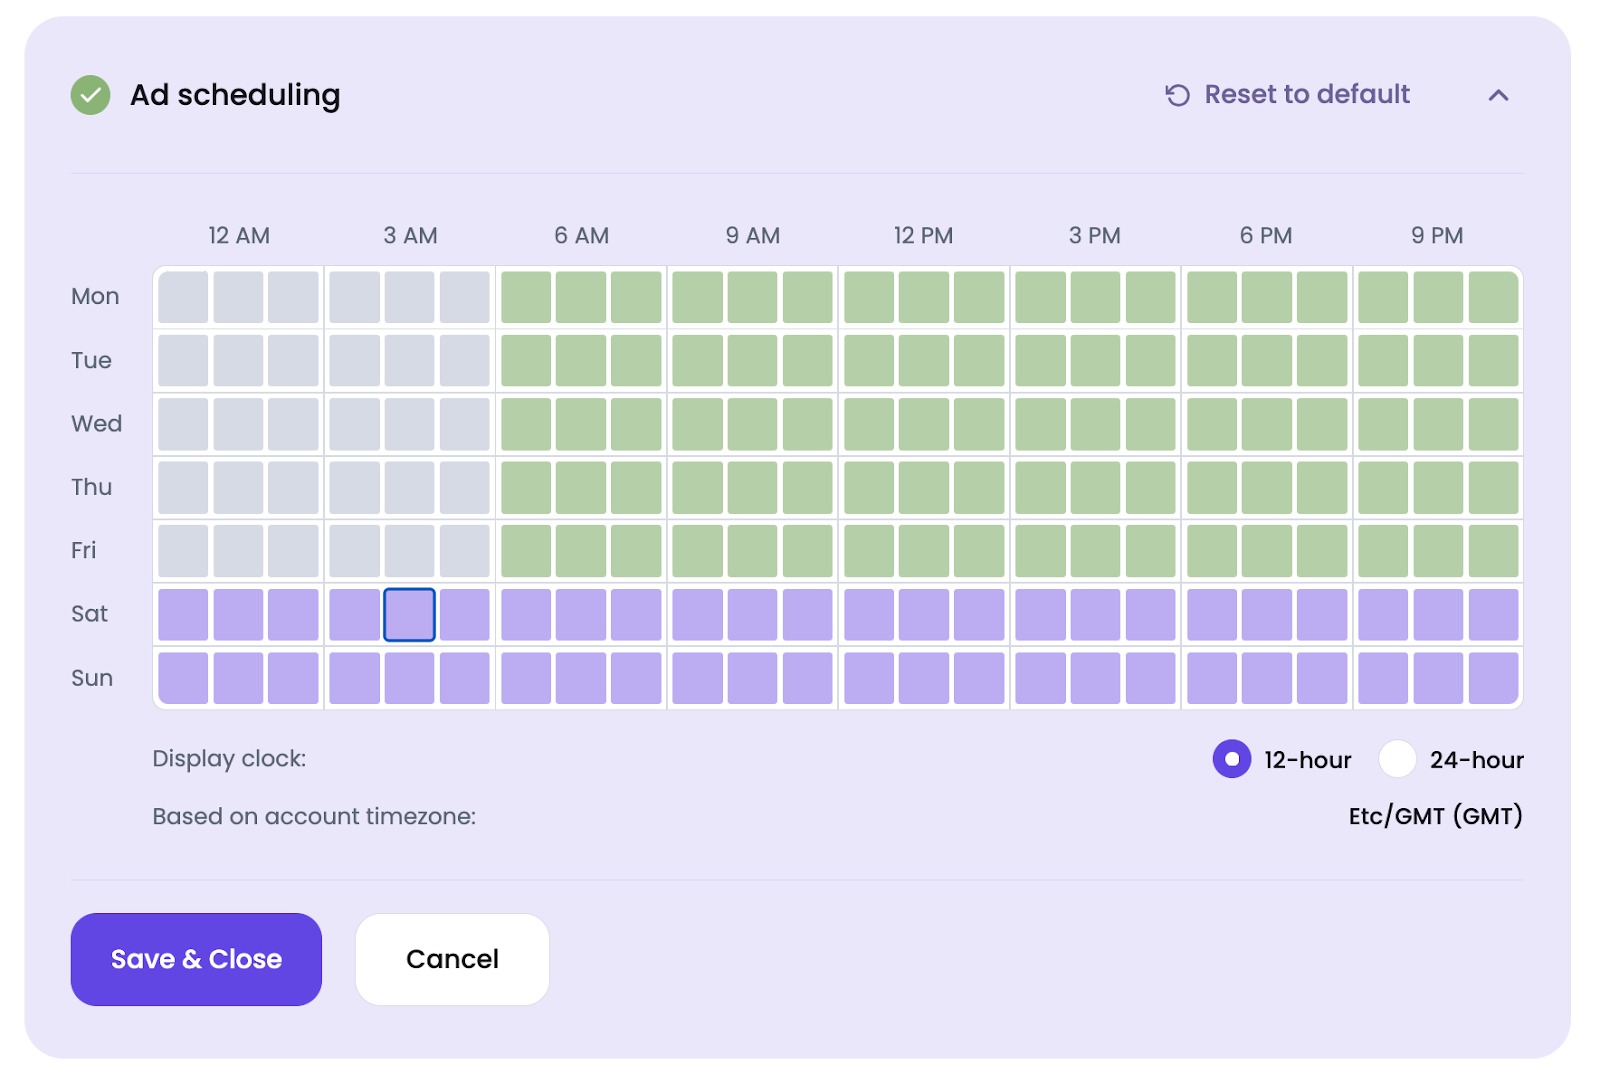
Note that: By default, your ads are set to run 24 hours a day, 7 days a week.
Step 2. Ad Groups
In this part of the set up you’ll create advertising groups and add keywords to them.
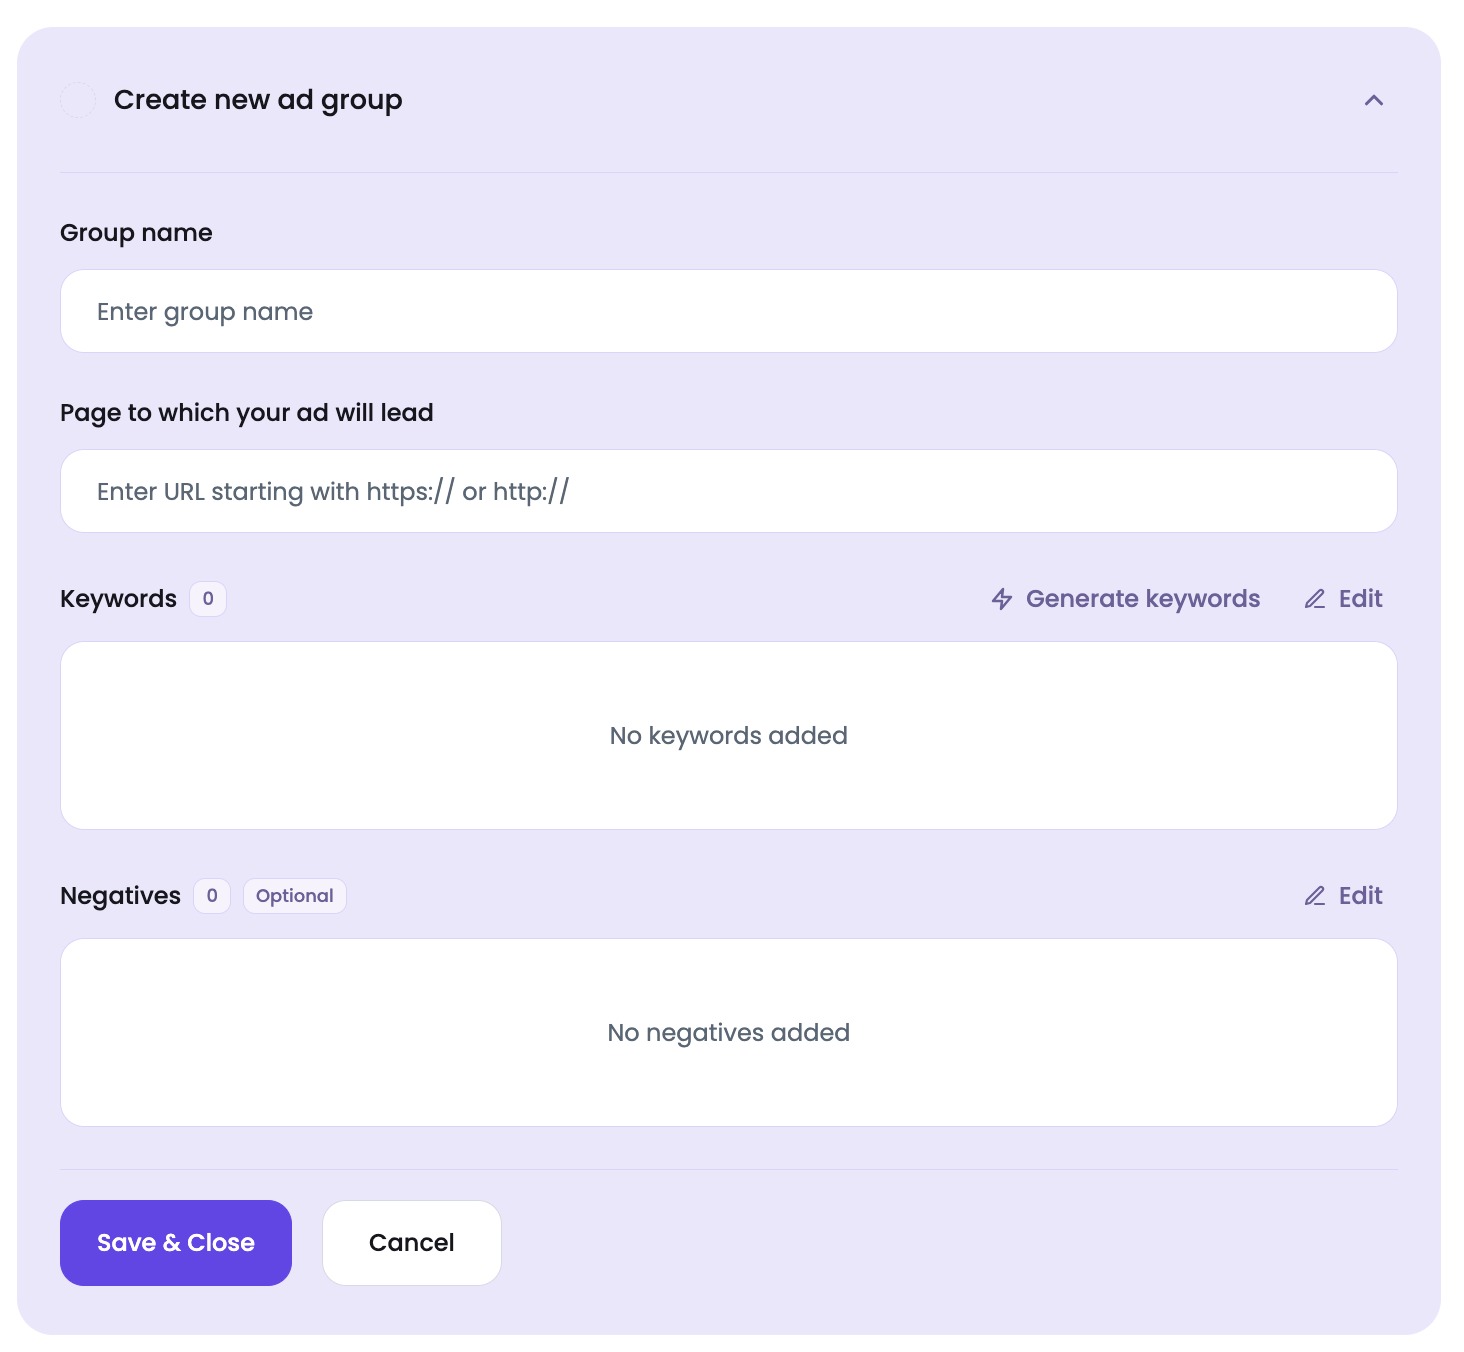
Create an Ad Group name and provide the URL of the Page to which your ad will lead. Based on this page, the app generates keywords, headlines, and descriptions for your ads.
Click the Generate keywords button and the app will provide you with the list of keyword suggestions based on the URL you’ve provided above.
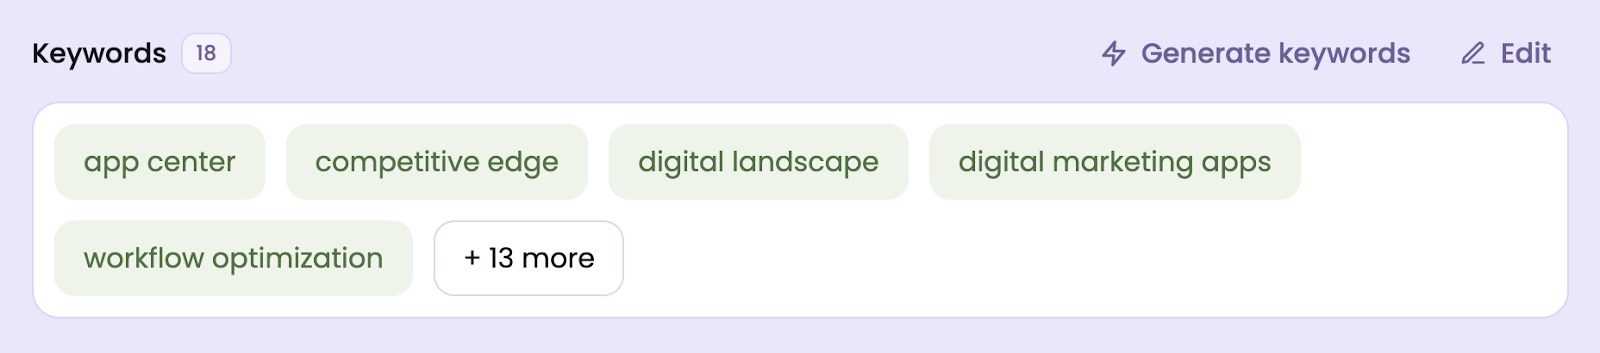
Your ads will be displayed to people searching for related keywords, so make sure to carefully review the suggestions and edit them if necessary.
Click Edit to open a Keywords & Negatives window that will allow you to fine tune your keywords.
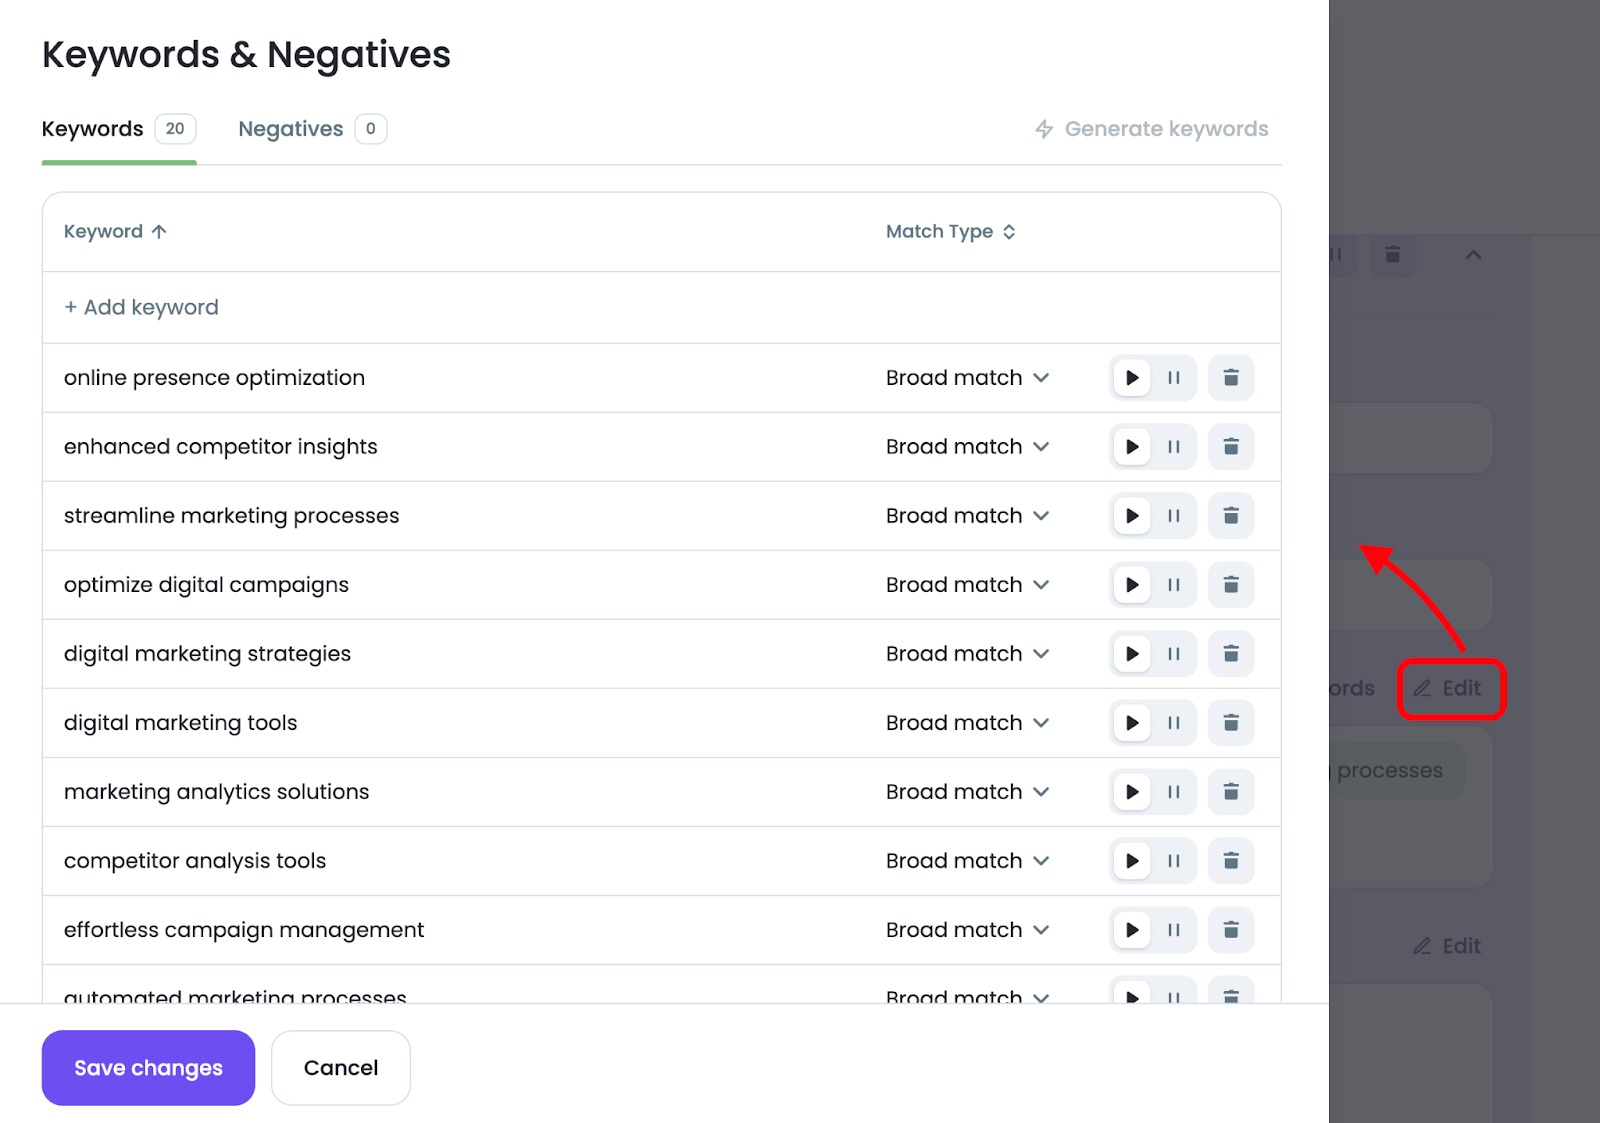
In the Keywords tab you can review and manage AI-Generated keywords, manually add your own, set the match type for each keyword, pause/activate keywords, or delete them altogether.
In the Negatives tab you are able to manage your campaign-wide negative keywords.
Negative keywords let you exclude search terms from your campaigns, ensuring you focus on keywords that matter to your customers.
Note that: Negative keywords are added at the campaign level.
Step 3. Ads
In this part of the setup you’ll create ads, add headlines, descriptions and extensions(callouts).
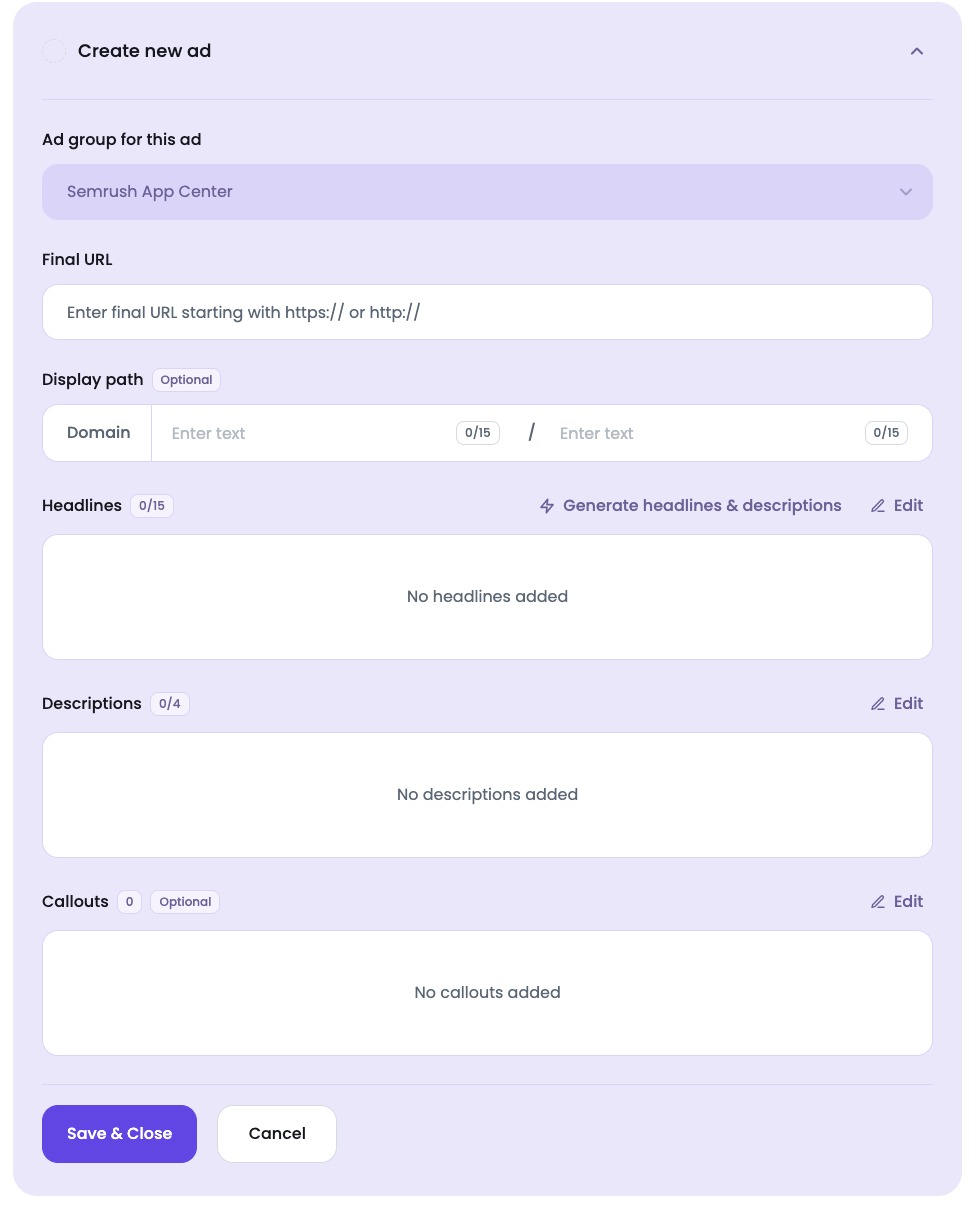
Choose the Ad group for this ad from one of the previously created in the step above. Provide the Final URL( this is where people land after clicking your ad) and come up with an attractive Display path for the URL.
Click on the Generate headlines & descriptions button for app-generated suggestions.
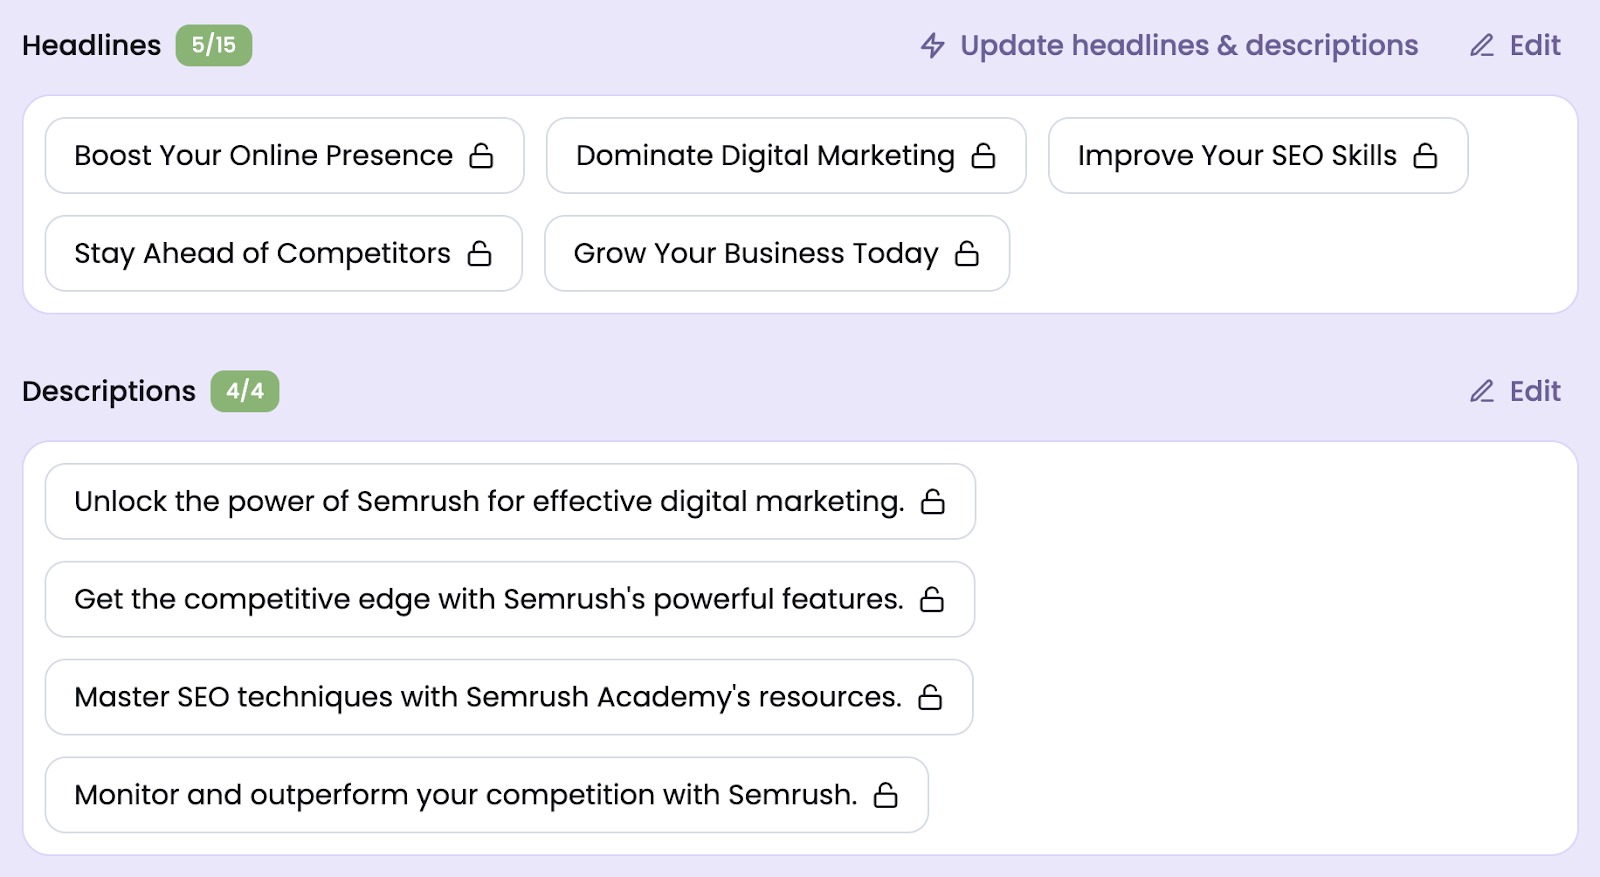
To review and edit the content of your ad click Edit that will open a Headlines & Descriptions window in the left side of your screen.
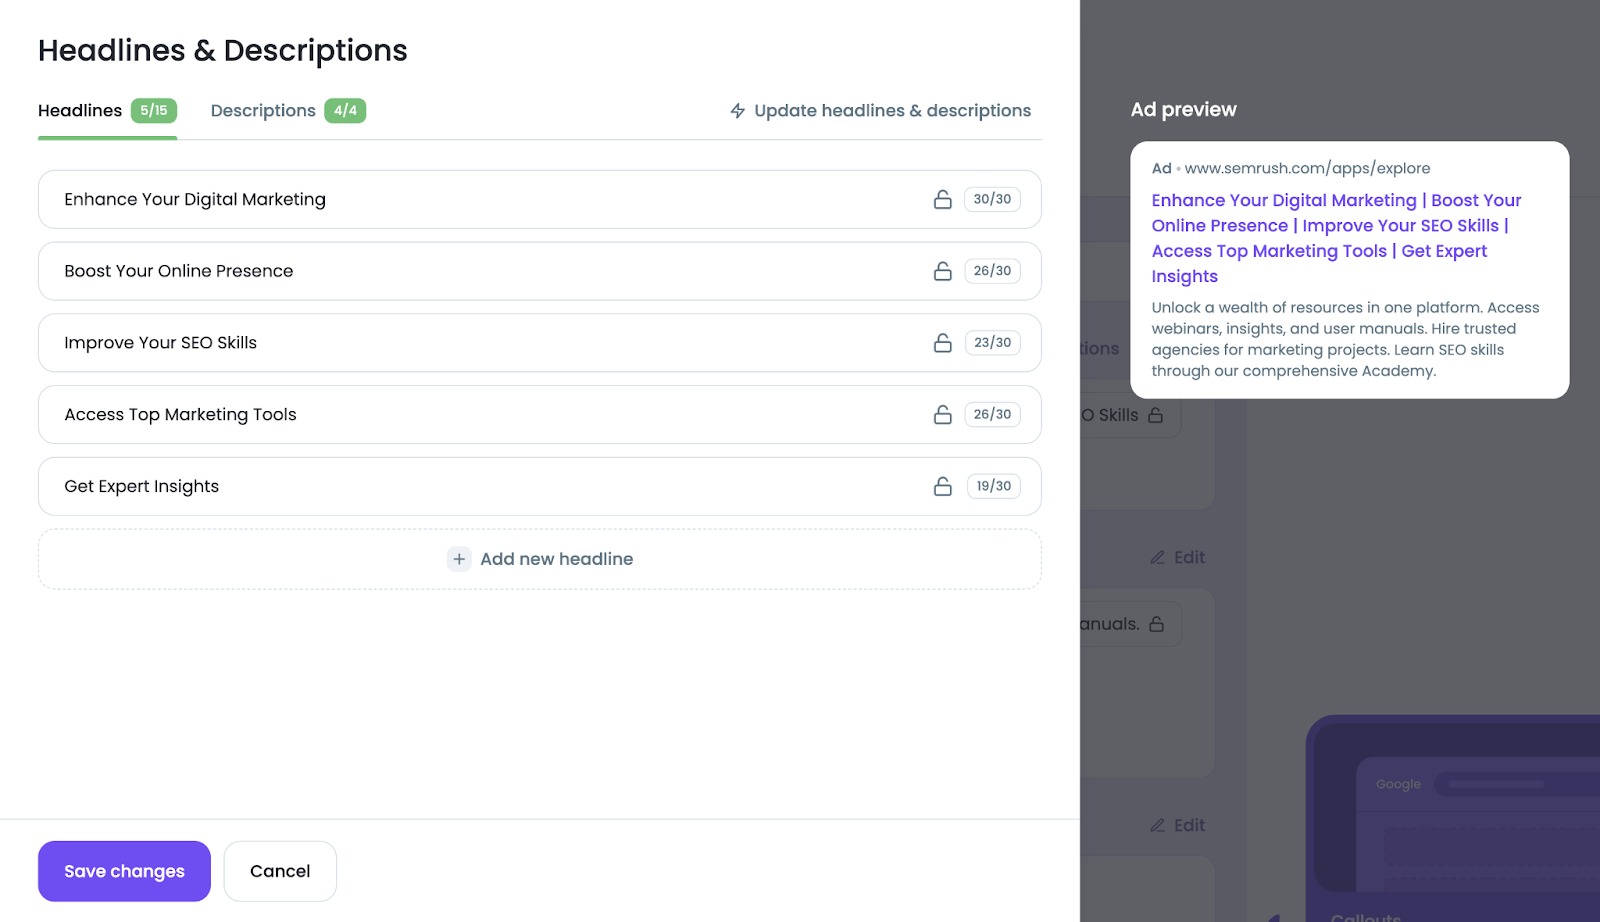
Here you’ll be able to review the headlines and descriptions generated by AI.
Lock the ones you liked, and click the Update headlines & descriptions button to re-generate the ones you didn’t like. You can also manually add your own headlines and descriptions.
To the right of the window you’ll see an Ad preview displaying how your ad might look to help you decide on the best options for you.
Callouts
By clicking the Edit button in the Callouts section you can input your callouts(extensions) to include additional text highlighting popular or unique aspects of your business in your ad.
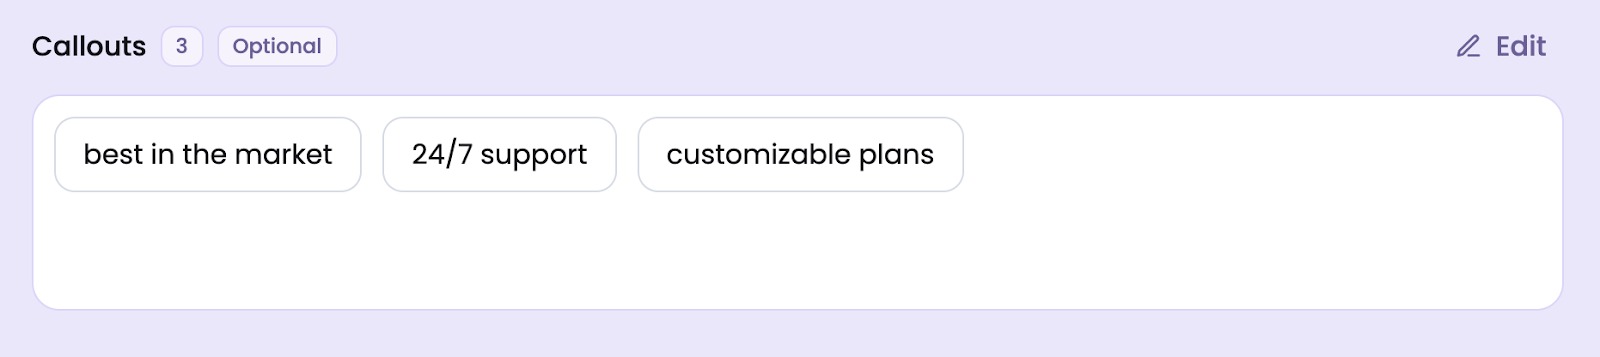
Note that: Callouts are added at the campaign level.
Step 4. Bid Strategy & Budget
This is the final step of the setup where you’ll be prompted to choose a bidding strategy and specify a budget for your advertising campaign.
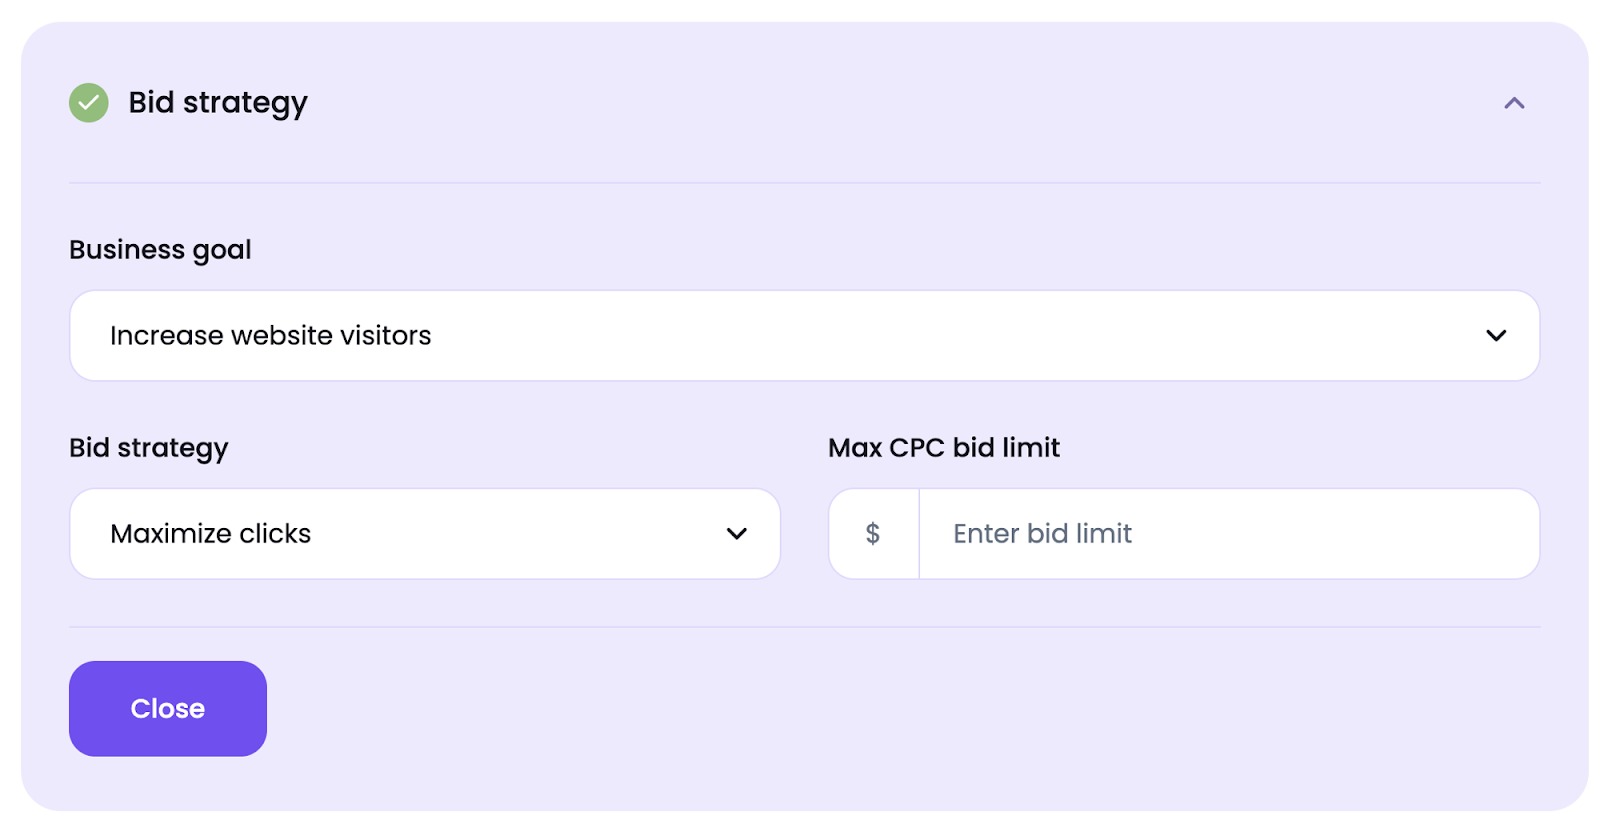 In the Business Goal field you’ll be able to choose a specific goal you're aiming to achieve with your advertising campaign. There are two goals, currently available in the app:
- Increase website visitors: Get as many clicks to your websites as possible with the given budget.
- Increase or stabilize awareness: Show at your desired location (e.g., top of page) and impression share in auctions.
Using the Bid strategy feature you can choose an automated bidding method to meet the different objectives of your campaigns. Currently, there are two options available in the app:
- Maximise clicks will help you get as many clicks as possible within your budget.
- Impression share automatically sets bids with the goal of showing your ad on the absolute top of the page, on the top of the page, or anywhere on the page of Google search results.
Finally, set the Max CPC bid limit to determine the highest amount that you're willing to pay for a click on your ad. Learn more here.
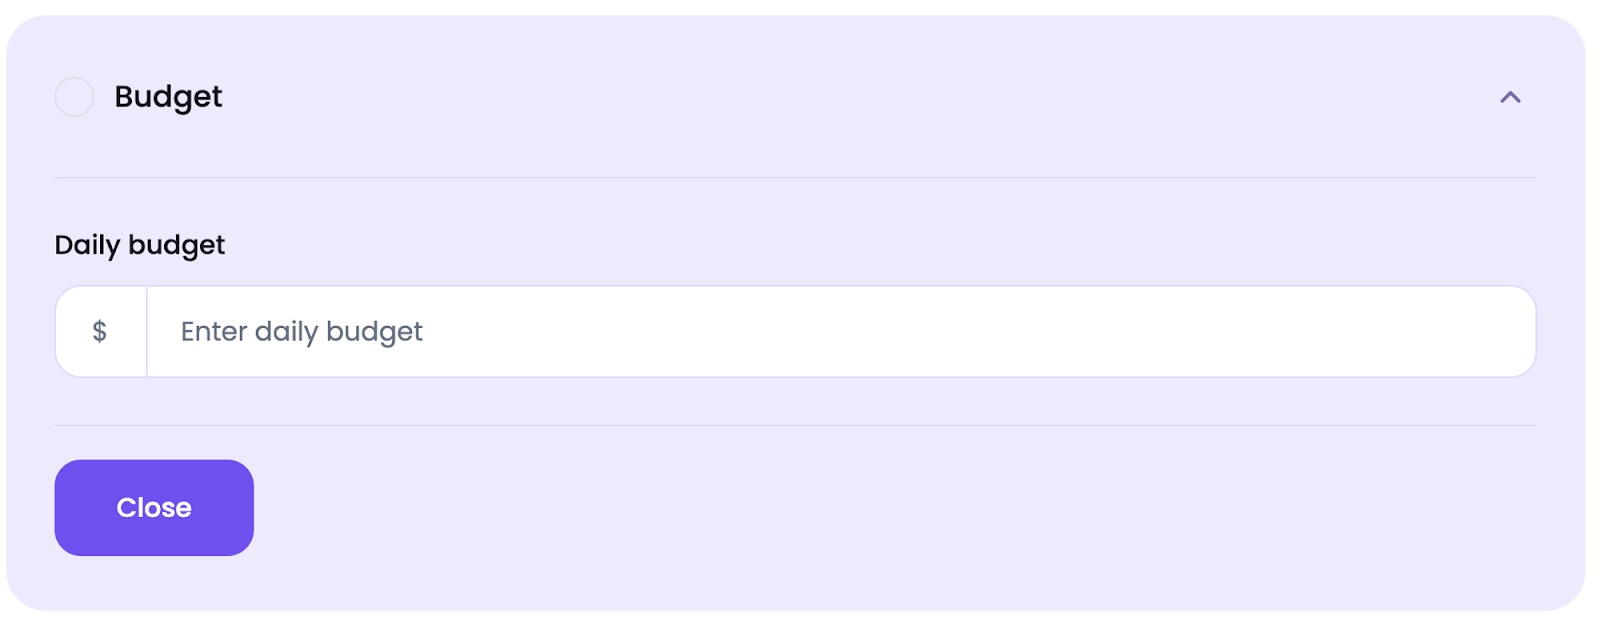
Here you’ll be asked to set your average daily budget for this campaign.
Over the course of a month, your total spending will not exceed your daily budget multiplied by the average number of days in a month.
Note that: Some days may have a lower spend than your daily budget, while others might be spent up to twice the daily budget.
Frequently Asked Questions
 To delete a Ads Launch Assistant campaign, click the Remove campaign button next to the campaign in My Campaigns. A pop-up warning will appear to confirm the action.
If you have any questions about the Ads Launch Assistant app, please email us at ads-launch-assistant@semrush.com.